Pulling the wallpaper off is only half the job. What’s left underneath, patches of dried adhesive, torn drywall paper, or a mix of both, decides whether the paint that goes on next actually sticks or fails within the first few coats. Painting straight over a wall that still has glue residue is one of the more common reasons a fresh paint job looks fine on day one and goes wrong later.
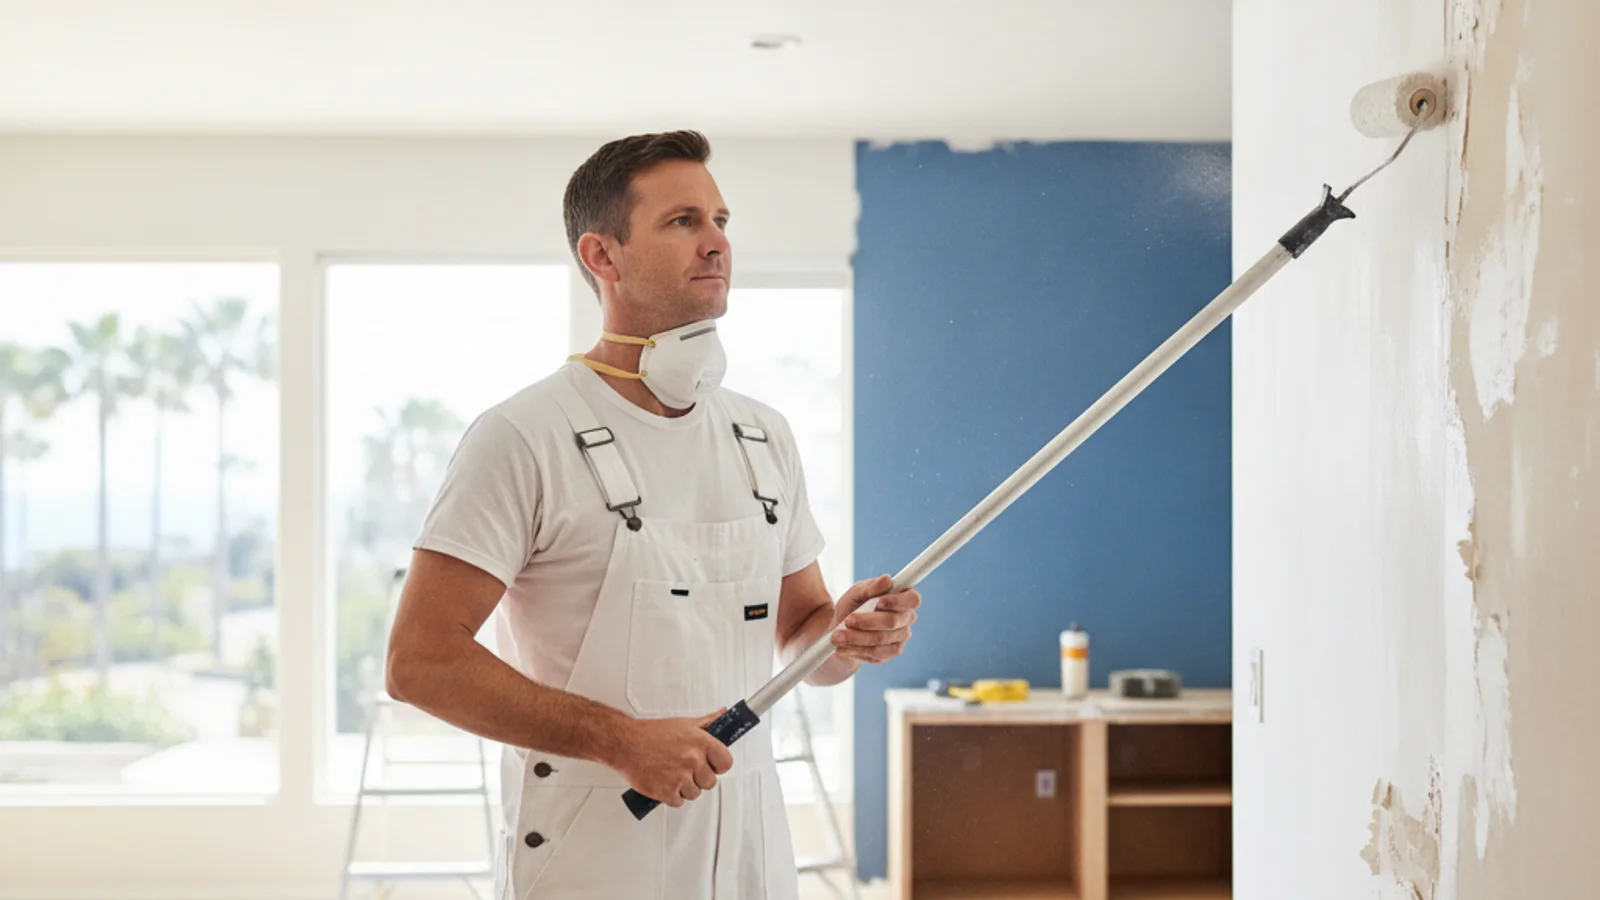
Identify residue after the wallpaper comes off
Once the wallpaper is off, look at the wall in raking light, light hitting it at a low angle from a lamp or flashlight, rather than straight on. Residue that’s invisible under normal lighting often shows up clearly this way as a slightly glossy or uneven sheen across parts of the wall.
Run a hand over the surface too. Adhesive residue often feels slightly tacky, waxy, or bumpy compared to bare drywall or plaster, even when it looks dry. Some residue is thin and even, left behind evenly across the whole wall. Other times it’s patchy, heavier where extra glue was applied during the original hanging or where a stubborn strip needed more product to come loose. Both types need to be dealt with before paint goes on, but a patchy wall usually needs more targeted attention in the heavier spots rather than one uniform pass across the whole surface.
It’s also worth checking for more than one layer. Walls that have been wallpapered multiple times over the years sometimes have older adhesive underneath a more recent layer, and only removing the top layer’s residue can leave a hidden problem that shows up after painting.
Test a small area before sanding or coating
Before treating the whole wall, work on one small section first, a square that lets you see how the wall responds to cleaning, sanding, or a test coat of primer. This matters because not every wall reacts to residue-removal methods the same way, and the wrong approach in a small test area is a lot easier to fix than the wrong approach across an entire room.
Try a damp cloth first on an inconspicuous section to see whether the residue softens and lifts. If it does, that’s a sign a full cleaning pass with an appropriate adhesive remover will likely work across the wall. If the residue doesn’t respond to moisture, or if the drywall paper underneath looks like it’s starting to lift or bubble when it gets wet, that’s a signal to stop and reassess rather than push forward with a method that’s damaging the wall.
Test the primer step too, once the wall is clean and dry. Prime a small section and let it dry fully before deciding the rest of the wall is ready. If old adhesive is still present in trace amounts, it can sometimes bleed through a coat of paint later even after the wall looked clean, and catching that in a test patch is far cheaper than catching it after a full room is painted.
Repair torn drywall paper before priming
Wallpaper removal, especially on walls where the paper was glued directly to unprimed drywall, often tears the drywall’s own paper facing along with the wallpaper. That torn paper leaves a rough, fuzzy texture that will telegraph through paint no matter how many coats go on, and priming over it without repair just locks the texture problem in place.
Small areas of torn paper can sometimes be sealed and smoothed with a skim coat of joint compound, feathered out past the damaged area so it blends into the surrounding wall once sanded and primed. Larger areas of torn or damaged drywall paper, especially where the tear exposed the drywall’s core material rather than just the paper facing, are a bigger repair and may need patching or replacement of that section. A drywall repair pro can assess how extensive the damage actually is and whether a skim coat will solve it or the section needs more.
Don’t skip this step to save time. Paint doesn’t hide torn drywall paper texture, it usually makes it more visible once light hits the wall at an angle, and going back to fix it after the room is already painted means redoing work that was avoidable.
Compare cleaning, sealing, and skim-coat options
Once the residue is identified and any torn drywall repaired, there are a few different paths to a paint-ready wall depending on what condition the surface is in. Light, even residue that responded well to a test cleaning can often be fully removed with an adhesive remover and a final rinse, leaving bare, sound drywall or plaster ready for primer.
Walls with residue that won’t fully clean off, or where cleaning risks damaging the drywall paper further, are sometimes better served by a sealing primer designed to lock down what’s left rather than continuing to scrub at a surface that’s starting to break down. This is a product-specific decision, since not every primer is formulated to handle adhesive residue, and using the wrong one can lead to the exact bleed-through or adhesion problems you’re trying to avoid. Whether cleaning, sealing, or a skim coat is the right call for a specific wall depends on the adhesive, the wall material, and the primer being considered, which is a decision worth confirming with a painter or the primer manufacturer’s technical data sheet rather than guessing. For general primer guidance, see do you need primer before painting in San Diego.
A full skim coat across the wall is the most thorough option when residue is heavy, uneven, or paired with significant drywall paper damage. It buries the inconsistencies under a fresh layer of compound rather than trying to clean or seal around them, but it’s also the most labor-intensive option and adds a step most single-layer removals don’t need.
Decide when the wall is ready for paint
A wall is ready for paint when it’s clean, dry, free of tacky or glossy residue under raking light, and any repaired sections have been sanded smooth and primed. If a test patch of primer dried without any bleed-through, discoloration, or texture problems showing through, that’s a good sign the rest of the wall will behave the same way.
If the test patch showed a problem, faint lines telegraphing through, a slightly different sheen where residue remains, or any softening of the drywall paper, treat that as information rather than something to paint over and hope it settles. Going back to address it before the whole wall is painted is far less work than stripping and redoing a finished paint job later.
For a broader look at what wallpaper removal itself typically involves before this preparation stage starts, see the guide on wallpaper removal costs in San Diego. Independent painters and wallpaper removal specialists both handle this kind of prep regularly, and a wallpaper removal pro can evaluate a specific wall in person, which is more reliable than trying to diagnose adhesive type from a photo or a general guide.
When to call us
Wallpaper glue that won’t clean off, drywall paper that tore during removal, or a test patch that shows bleed-through are all signs the wall needs more than a quick wipe-down before it’s ready to paint. A licensed local painter can assess the specific residue and wall condition and recommend the right prep.
Call us at (858) 400-6422 and we’ll connect you with a licensed local painter.