Popcorn texture comes off a ceiling in an afternoon of scraping, and what’s left underneath is rarely smooth. Scrape marks, exposed drywall paper, old fastener dimples, and seams that were never meant to be seen all show up once the texture is gone, which is why a skim coat is usually the next step before paint, not an optional upgrade.
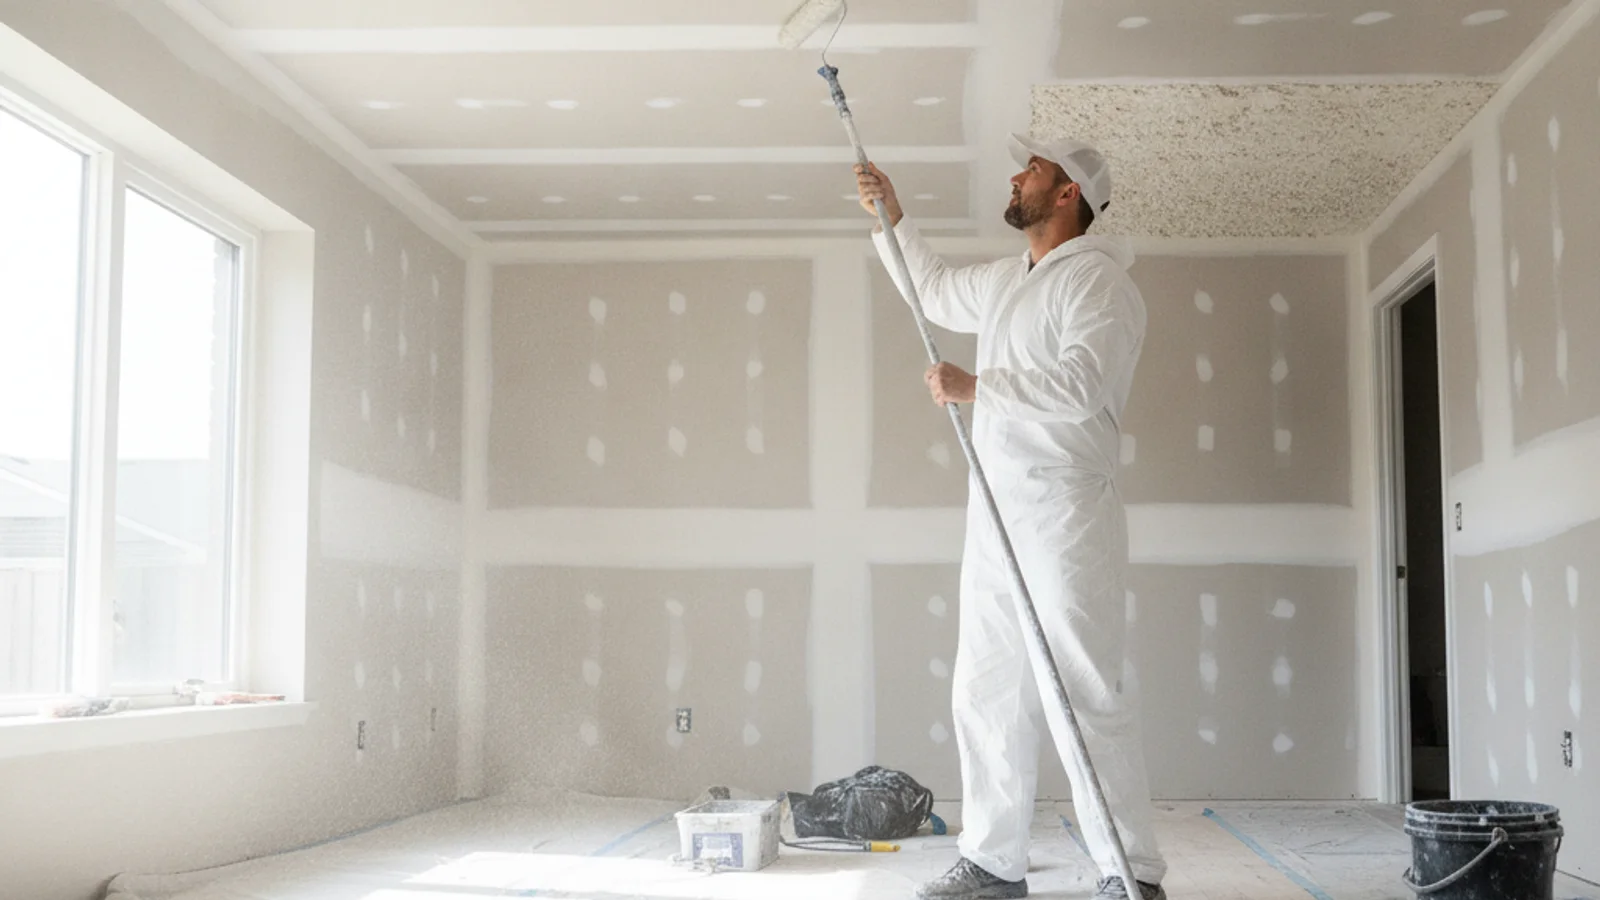
Decide between a smooth finish and new texture
Once popcorn is scraped off, a homeowner has two real paths: skim coat the whole ceiling smooth, or apply a new lighter texture like orange peel or knockdown over the scraped surface. Both start from the same scraped ceiling, and both need the surface prepped before anything goes on, but they’re different amounts of work and land on very different finished looks.
A skim coat, a thin layer of joint compound spread across the entire ceiling and feathered smooth, is the choice most homeowners reach for when they want the flat, modern look popular in newer San Diego builds. It’s also the more labor-intensive of the two options, since a smooth ceiling shows every imperfection under raking light, which means the compound has to be applied evenly and sanded carefully across the full surface, not just at obvious low spots.
Re-texturing over the scraped ceiling is usually faster and more forgiving of an imperfect scrape, since a new texture pattern hides small variations the way the popcorn used to. It’s a reasonable choice on a ceiling with extensive damage from the scraping process, or when a homeowner wants to match texture in an adjoining room rather than commit to a full smooth-ceiling project.
Lighting plays into this decision more than most homeowners expect. A room with recessed can lights or track lighting aimed close to the ceiling plane will show every ripple in a smooth finish, since raking light from a low-angle fixture is the harshest possible test for a skim coat. A room lit mostly from above with diffuse fixtures is more forgiving, and some homeowners weigh whether to adjust lighting placement as part of the same project rather than fight the ceiling’s flaws after the fact.
Inspect seams, fasteners, and damaged paper
Before either path moves forward, the scraped ceiling needs a real inspection, not just a look from the floor. Scraping popcorn texture almost always chews into the drywall paper in spots, especially where the texture was applied thick or where a previous water stain had softened the material. Torn paper doesn’t hold a skim coat or a new texture the same way sound drywall does, and a patch skipped here shows up later as a soft spot or a crack in the finish.
Seams between drywall sheets, which were likely hidden under the original popcorn texture, need to be checked for open tape, cracking, or compound that’s separated from the board. Fastener heads, the screws or nails holding the drywall to the ceiling joists, sometimes work loose or show as small dimples once the texture that used to camouflage them is gone. Every one of these needs its own repair pass before a skim coat or new texture goes over the top, because compound applied over a bad seam or a loose fastener will telegraph the same flaw right back through.
Ask the quoting painter to flag any fastener pops that were not visible before the popcorn came off and explain how they will be addressed.
The ceiling texture types guide for San Diego covers the range of finishes homeowners land on after this kind of project, from smooth to orange peel to knockdown, for anyone still deciding which direction fits the room.
Compare skim-coat scope across the full ceiling
A skim coat is not a spot-repair job. To read as smooth and uniform once painted, the compound generally needs to go across the entire ceiling plane, not just the areas that look rough after scraping, because a partial skim coat creates its own visible line between the smoothed section and the untouched scraped surface. That full-ceiling scope is the main reason a skim coat costs more in labor than patching individual trouble spots.
This full-plane requirement is also why skim coating a large open-concept ceiling, common in newer builds across San Marcos and Chula Vista’s newer developments, is a bigger undertaking than skim coating a series of smaller bedroom ceilings in an older, more compartmentalized floor plan, even when the total square footage ends up similar. A continuous ceiling plane has to stay uniform from one end to the other with no visible seams between work sessions, which changes how a painter sequences and paces the job.
The number of coats and how much sanding happens between them depends on how rough the scraped surface was to start. A ceiling that was scraped carefully and had minimal paper damage needs fewer passes than a ceiling with heavy gouging, exposed seams throughout, or significant paper tear-out. Either way, drying and sanding time between coats stretches the timeline out well beyond a single day, and the painter doing the work is the one who can say how long a specific ceiling will take.
Plan primer and paint after surface approval
Primer and paint come after the skim coat or new texture is fully cured, sanded, and inspected, never before. A ceiling primed too early, while the compound is still curing, traps moisture and can cause the primer to fail or the compound underneath to soften. The drywall repair cost guide for San Diego touches on how a bad or premature patch can add to a project if it has to be redone.
Ceiling paint itself is worth specifying correctly here too: a flat ceiling paint hides minor imperfections better than anything with sheen, which matters on a freshly skim-coated surface that’s still likely to show a little texture variation even after careful sanding. A painter handling popcorn ceiling removal or drywall repair typically treats primer and paint as the final step of one continuous sequence, not a separate project scheduled much later.
Confirm safety steps before disturbing older texture
Before any scraping, skim coating, or sanding starts on a ceiling in an older home, the texture needs to be checked for asbestos. Federal law requires firms performing renovation, repair, or painting work that disturbs lead-based paint in housing built before 1978 to be EPA-certified and to follow lead-safe work practices under the EPA’s Renovation, Repair and Painting program, and that same era of home is also the one most likely to have asbestos-containing popcorn texture. California additionally requires contractors and employers removing asbestos-containing material covering 100 square feet or more, at a fiber content over 0.1%, to register with Cal/OSHA before the work begins.
Neither of those rules is a guess about your specific ceiling. A texture sample needs to be tested by a qualified lab before any scraping, sanding, or skim coating starts on an older ceiling, and the result determines what protective steps the work requires. Homeowners sometimes assume a ceiling that’s already been partially scraped by a previous owner is safe to keep working on, but a partial scrape doesn’t confirm what’s underneath, and a fresh sample from an untouched section is still the only reliable way to know. The asbestos testing guide for popcorn ceilings in San Diego and the repair or remove decision guide both go deeper on how that testing and decision process works before any texture gets disturbed.
When to call us
A full-ceiling skim coat, a ceiling with damaged paper or open seams, or any texture removal in a home built before 1978 is worth handing to a licensed local painter who can test, prep, and finish the surface correctly. Call us at (858) 400-6422 and we’ll connect you with a licensed local painter.