Painted texture turns a simple removal request into a condition check. The main decision is whether the texture can come down, needs repair, or calls for a different finish. That decision should happen before anyone disturbs the ceiling.
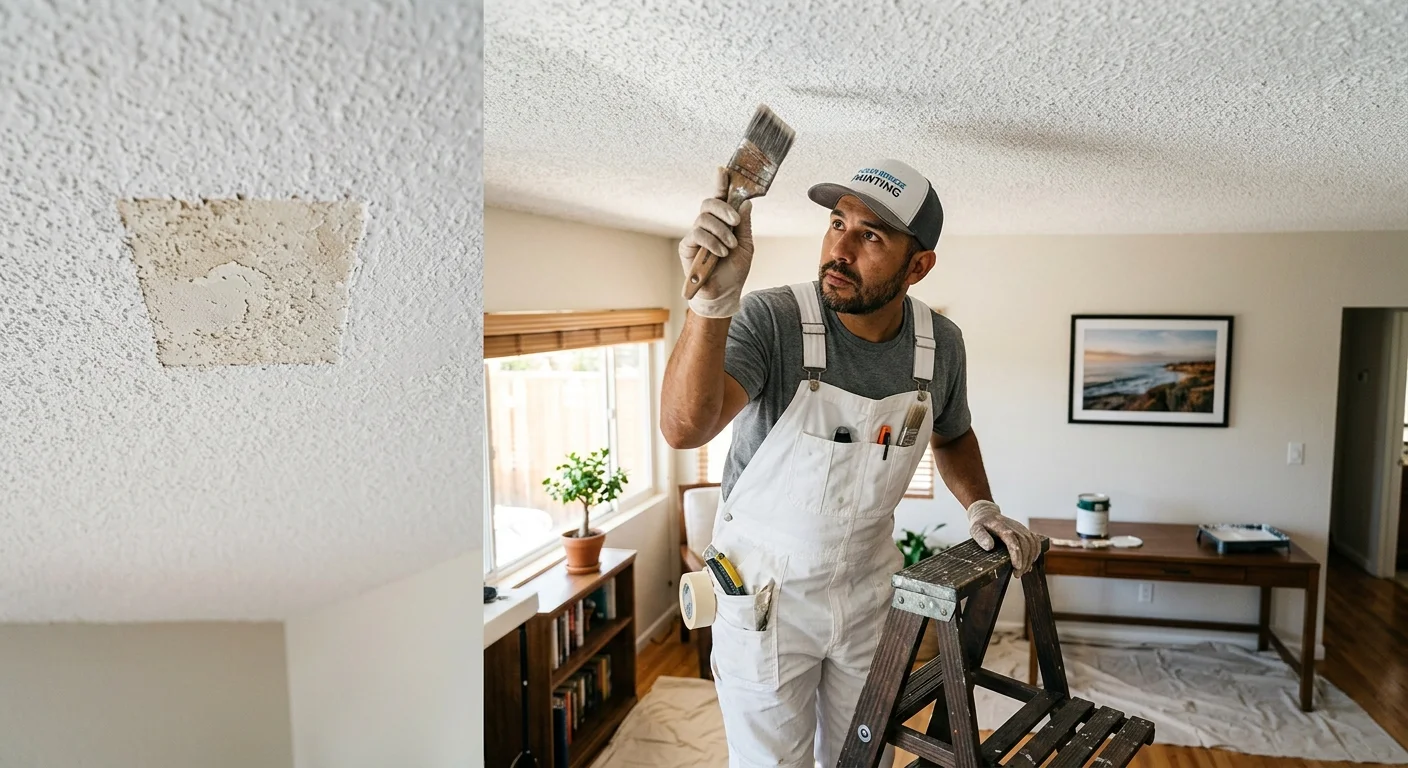
Determine whether the ceiling texture is painted
Painted popcorn ceiling removal should begin with confirming what’s on the surface. A ceiling may have one coating, several coatings, or uneven coverage from an earlier repair. Those conditions can’t be established from a room photo alone.
Ask the quoting painter to inspect the ceiling in person. Edges near vents, trim, and covered openings may offer a clearer view than the middle of the room. A continuous film or visible sheen may suggest paint, but it shouldn’t be treated as final proof.
The next step is a controlled test area. That test shouldn’t begin until the home’s age and possible hazards have been considered. The painter can then document how the texture behaves and what appears beneath it. This gives you better information than a quote based only on square footage.
The test area should answer practical questions:
- Does the texture release from the surface below?
- Does it separate unevenly across the sample?
- Is the underlying drywall paper or joint compound damaged?
- Are several finish layers visible?
- Can the chosen final finish be reached from the exposed condition?
Don’t let the test patch become an informal removal attempt. Its purpose is to define the scope, not start demolition without a plan. Ask where the sample will go and how the area will be protected.
A written scope for popcorn ceiling removal should identify the painted condition. It should also explain how hidden damage will be handled if the sample reveals it. If a quote treats painted and unpainted texture identically, ask how the contractor reached that conclusion.
Inspect adhesion and ceiling condition before removal
The ceiling beneath the texture matters as much as the visible paint. A controlled inspection helps the painter separate a finish problem from a drywall problem. That distinction affects the proposed work and the appearance you can reasonably request.
Look across the room with the lights on and off. Note visible cracks, loose areas, stains, old patches, and changes in texture. These observations identify places for closer inspection. They don’t establish the cause of a stain or prove what material is present.
Ask the painter to mark each condition on the quote or room diagram. A broad removal line item can hide meaningful differences between rooms. One ceiling may show stable texture, while another has patched areas or damaged drywall paper. The scope should address those conditions separately.
The inspection should also cover ceiling edges, wall transitions, vents, and light openings. You want to know whether nearby surfaces are included in protection and finishing. Ask how repaired areas will meet undisturbed sections if only part of the texture changes.
If drywall damage appears, compare a ceiling-only proposal with a defined drywall repair and texture-match scope. The contractor should state who handles repairs and which repairs are included. Don’t assume removal automatically includes every drywall correction discovered afterward.
Water staining deserves separate attention. A painter can document visible staining, but appearance alone doesn’t confirm its source or whether that source remains active. Ask the appropriate qualified professional to investigate before the ceiling receives a new finish.
The useful result isn’t a simple yes or no on removal. It’s a ceiling map showing stable areas, questionable areas, previous repairs, and the intended finish. That map gives each painter the same conditions to price and discuss.
Compare removal with repair or new texture
Once the ceiling has been inspected, compare complete scopes instead of isolated tasks. “Remove popcorn” describes only one part of the decision. The better choice depends on the verified surface condition and the finish you want afterward.
Removal may fit when the test area supports it and your goal is a different ceiling finish. The proposal should still state what happens after the texture comes down. Ask whether drywall correction, surface preparation, primer, and paint appear as separate line items.
Local repair may fit when the concern is limited to a defined area. The hard part is matching the surrounding texture and coating. Ask the painter to describe the target match and explain how the repair boundary will be handled. Don’t accept an exact-match promise without a physical sample.
A new texture may also be proposed after preparation. Have the painter name the texture rather than writing “retexture ceiling.” A sample board can make the choice clearer. It lets you compare the pattern under the room’s actual lighting before approving the full ceiling.
A smooth finish is another possible target, but the quote should define the drywall finishing included. “Smooth” can mean different things in competing proposals. Ask each painter what the completed surface will look like under natural and overhead light.
Our guide to whether you should repair or remove a popcorn ceiling helps organize those choices. Use the same finish target when comparing bids. Otherwise, one painter may be pricing removal and paint while another includes extensive drywall finishing.
Write down which parts matter most before requesting proposals. Your list might include keeping adjacent walls unchanged, creating a smooth ceiling, matching an existing texture, or addressing prior patches. That keeps the conversation focused on the finished room rather than removal alone.
Plan drywall finishing, primer, and paint
Removing texture doesn’t define the completed ceiling. The proposal must carry the project from the test area through the final coating. Every stage should appear in writing, even if one painter handles the full scope.
Start with the drywall condition revealed during inspection. Ask which visible repairs are included and how newly discovered damage will be approved. The scope should distinguish minor surface correction from broader drywall work. It should also identify any work assigned to another qualified professional.
Next, define the finish. For a smooth ceiling, ask the painter to describe the expected surface and prepare a sample if needed. For new texture, approve the pattern and scale. For a repaired popcorn finish, identify the boundaries and the expected relationship to the surrounding ceiling.
Primer and paint should be specific line items. Ask for the product name, surface preparation, application method, and quoted number of coats. The approved product should match the ceiling condition found after preparation. Don’t rely on a vague allowance that leaves the coating choice open until the work begins.
Also confirm how the ceiling meets the walls. If the walls aren’t being painted, the scope should address protection and edge work. If the wall finish must change because of repairs, that addition should be clear before work proceeds.
Lighting can expose differences that were hard to see during the initial visit. Review any sample from several parts of the room. Check it with window light, ceiling lights, and lamps used every day. This isn’t a technical test. It’s a practical way to approve the appearance you’re buying.
Before signing, compare the scopes line by line:
- Hazard review and any required testing
- Controlled test area
- Texture removal or repair limits
- Drywall corrections
- Approved texture or smooth finish
- Named primer and paint
- Protection and cleanup
- Handling of changed conditions
That list prevents “painted ceiling removal” from becoming an undefined bundle. It also makes competing proposals easier to compare fairly.
Confirm testing and safety steps before disturbance
A ceiling’s appearance can’t confirm whether asbestos or lead is present. The home’s age, available records, professional assessment, and any appropriate testing should guide the plan. Don’t start with scraping or sampling simply to see what happens.
Housing age is especially relevant in San Diego. Based on the approved ACS 2023 five-year data, 49.6% of housing units in the City of San Diego were built before 1978. That figure doesn’t prove any particular home contains lead-based paint. It does show why the construction year belongs in the first conversation.
The federal EPA Renovation, Repair and Painting program applies to covered paid work disturbing lead-based paint in pre-1978 housing. Covered work requires an EPA-certified firm and certified renovator using lead-safe practices. Ask for certification details before signing.
The federal work-practice requirements include warning signs and containment so dust and debris don’t leave the work area. Furniture, rugs, and window coverings must be removed or sealed under impermeable sheeting. Sanders and grinders used on painted surfaces require a shroud or containment system with a HEPA vacuum attachment. Renovation waste must remain contained and secured.
Lead and asbestos are different hazards with different requirements. No universal San Diego testing rule for every popcorn ceiling could be confirmed from the approved sources. Ask a qualified asbestos professional whether sampling is appropriate and who should perform it. Our San Diego popcorn ceiling asbestos testing guide explains the questions to settle before disturbance.
California requires contractors and employers removing material with asbestos fiber content above 0.1% across at least 100 square feet to register with Cal/OSHA. That threshold doesn’t determine what’s safe below it. A qualified specialist should interpret the result and define the proper scope.
Finally, verify the painting contractor through the CSLB license lookup. Paint Pros San Diego is a referral service, not the contractor performing the work. You’ll contract with and pay the independent local professional directly.
When to call us
Call when painted texture, questionable adhesion, drywall damage, or an older home makes the scope unclear. Call us at (858) 400-6422 and we’ll connect you with a licensed local painter.