Patch nail holes before paint
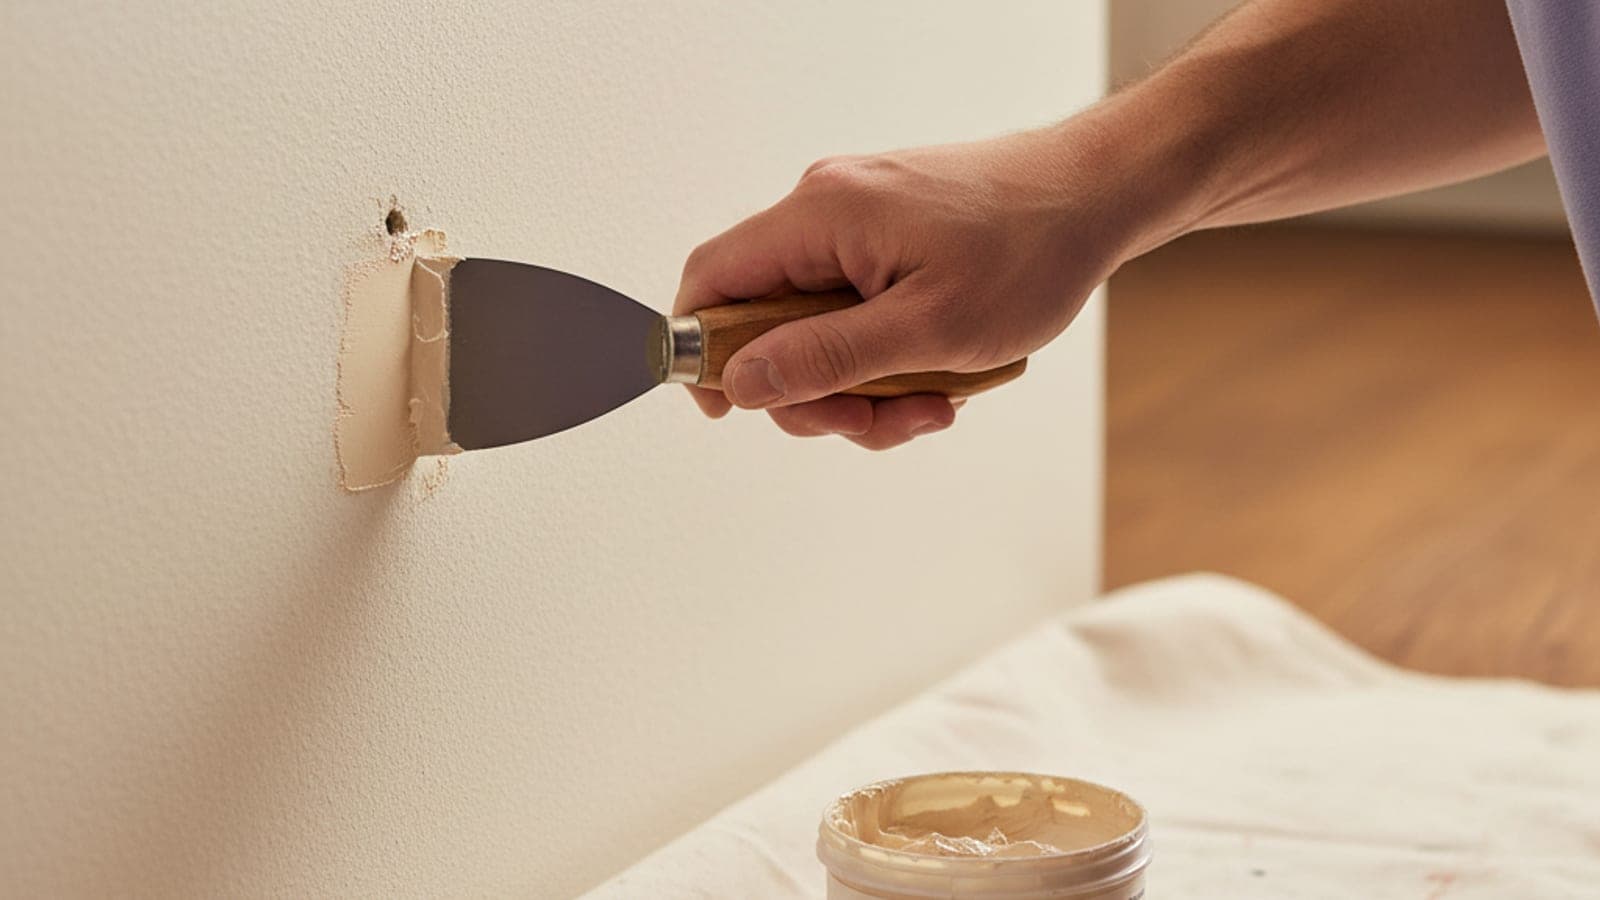
To make a nail hole disappear, press lightweight spackle slightly overfull with a small putty knife. Scrape it flush in one clean pass, then let it dry for the time stated on the container. Sand the patch flush and spot-prime it before applying paint.
What you'll learn
- Why lightweight spackle beats heavy spackle for nail holes
- The "slight overfill" method so sanded patches sit flush
- When a nail hole needs a mesh patch vs. just spackle
- Why you sand, prime, then paint, not just paint
Step by step
- Use a small putty knife and a lightweight spackle. Some brands dry to a different color, which takes the guesswork out of the next step.
- Press spackle into the hole slightly overfull. Scrape flush with one clean pass.
- Let it dry fully. Follow the container's own dry time rather than guessing from how it looks.
- Sand lightly with 220-grit until flush with the wall.
- Spot-prime with a dab of primer, let dry, then paint.
Why a small patch can still show
Wall material changes how a repair behaves. Drywall has a paper face over a softer core. A picture nail usually leaves a clean opening, but a pulled fastener can tear the paper. Spackle may fill the opening while leaving the raised paper visible. Once painted, that lifted edge can cast a small shadow.
Plaster is harder and less forgiving. The visible hole may sit beside loose material beneath the surface. Filling only the opening won't stabilize a weak edge. If the surrounding area sounds hollow, moves under light pressure, or sheds material, the problem extends beyond a simple cosmetic patch.
Texture adds another challenge. A patch can be perfectly flat and still look wrong. Orange peel, knockdown, and hand-applied textures catch light differently than smooth filler. The repair may need its texture rebuilt before paint. Heavy texture also makes aggressive sanding risky because it can flatten the surrounding pattern.
Spackle can settle as it dries. That leaves a shallow dip or a visible ring around the repair. Side lighting makes these flaws easier to spot before paint. Follow the product label, then check the surface from different angles. A patch that looks smooth from straight ahead may still show near a window or lamp.
Primer matters because filler absorbs paint differently than the surrounding wall. Without primer, the repaired area can look duller or glossier. Painters call this flashing. Another coat of wall paint may soften it, but it doesn't always correct the uneven absorption beneath it.
A heavy anchor leaves a different repair than a picture nail. Removing it can crush the drywall core, tear the paper, or widen the opening. The visible hole doesn't always show the full damaged area. Loose edges and movement mean the repair needs more support than filler alone.
When a nail-hole patch needs a painter to look at it
DIY patching makes sense when the damage is small, stable, and isolated. Stop when the wall feels soft, flexes, crumbles, or keeps shedding material. Those signs suggest the surrounding surface needs attention before finishing.
Repeated cracks also change the answer. A crack that returns may reflect movement at a drywall seam or another underlying problem. Covering it again can hide the symptom without addressing the cause.
Multiple anchor holes, torn face paper, and broad texture damage can turn a quick patch into a larger finishing job. Matching an existing texture often takes more judgment than filling the opening. Strong side light and glossy paint also expose small differences in height and texture.
A painter should look at repairs that cross seams, spread beyond the fastener area, or involve loose plaster. Ask the painter to assess the surface, explain the needed preparation, and handle the finish work. You hire and pay the independent painter directly.
A hole wider than a dime needs a self-adhesive mesh patch before the spackle goes on. Without it the patch cracks as soon as the wall flexes.
Rather have a pro handle it?
Licensed painters across San Diego County. Licensed local painters, matched to the area you call about.
Keep learning.
Touch up scuffs on interior walls
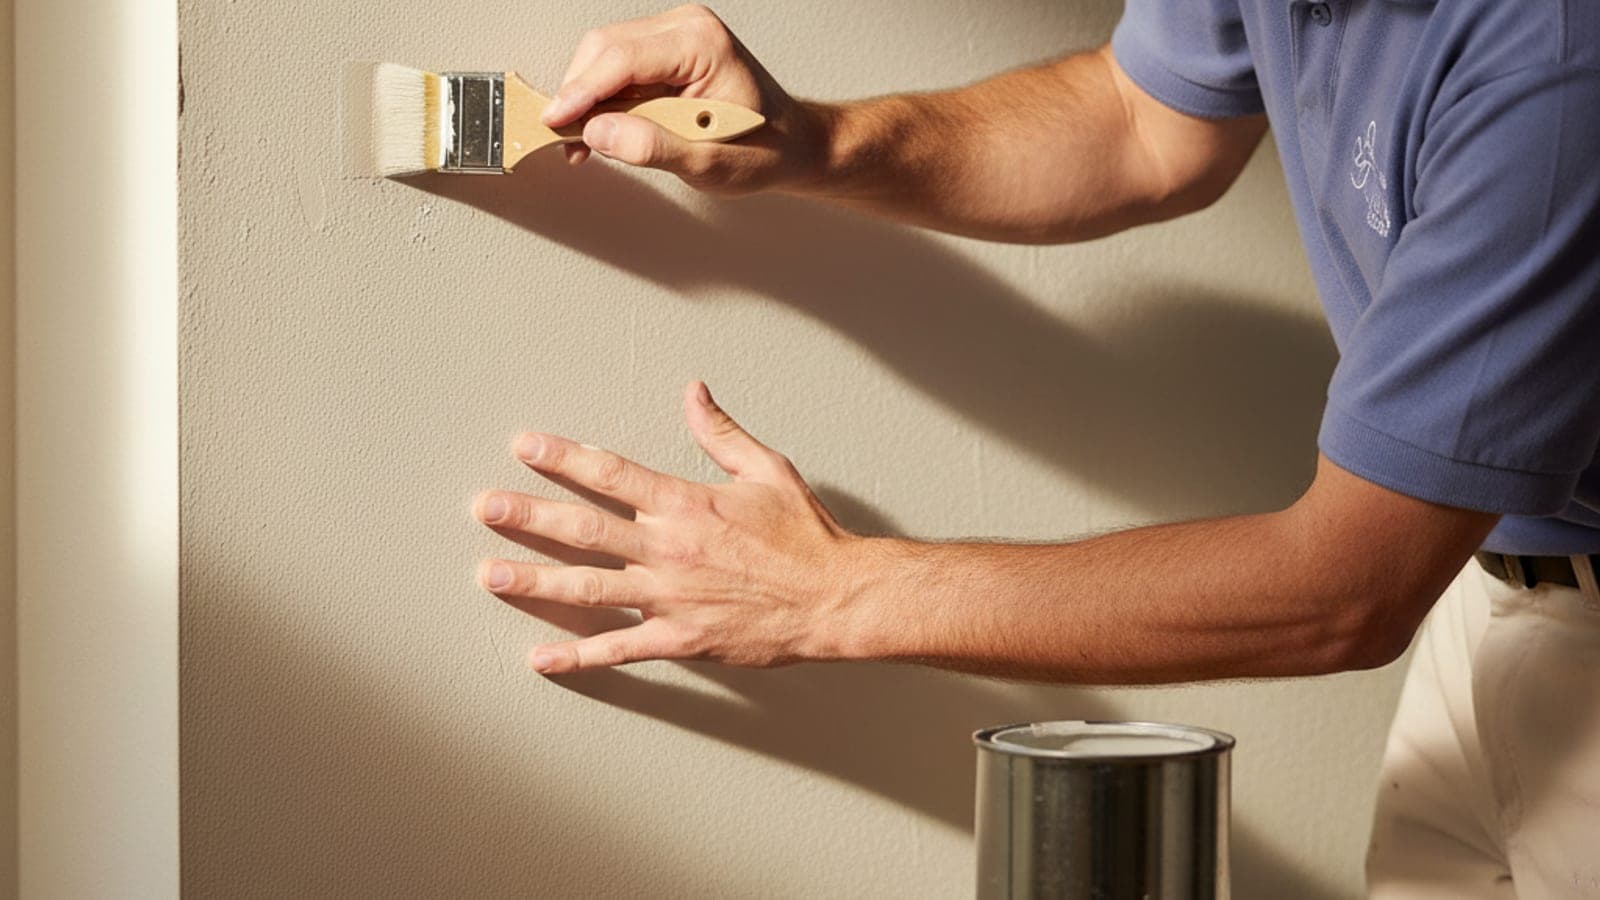
To touch up a wall scuff, clean the mark with a damp magic eraser and let it dry. Stir the leftover paint, then use a small art brush or artist’s sponge instead of a roller. Dab rather than stroke, feathering the paint outward to blend the edges.
Test paint colors before committing
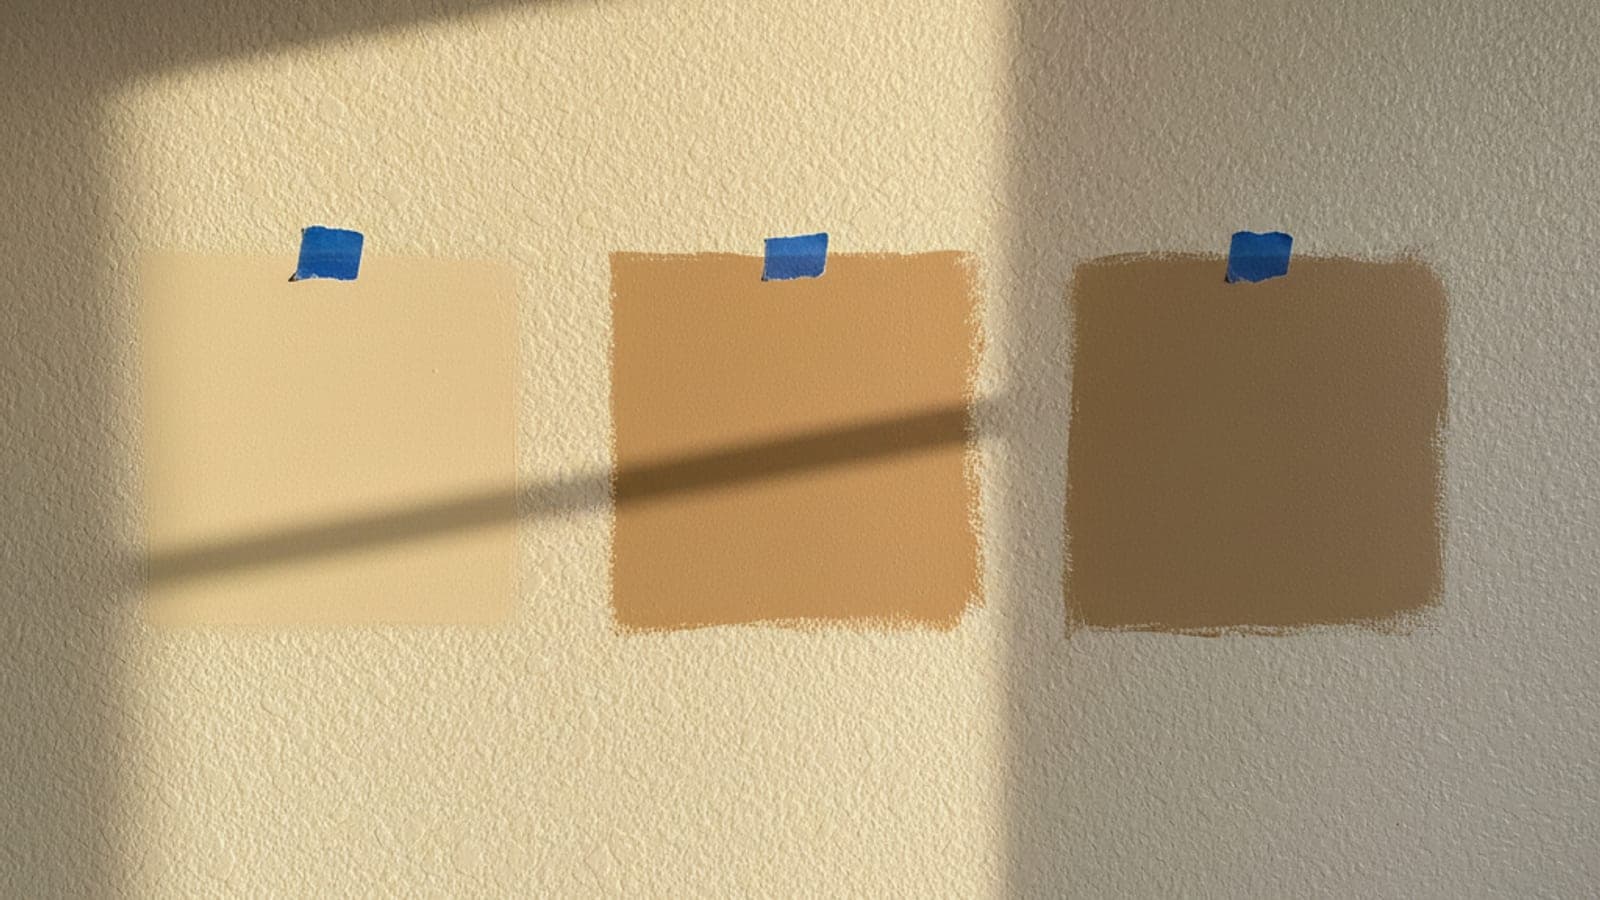
Test paint colors with large-format samples, 12 by 12 inches or bigger, placed on the actual wall. Use sample quarts for two or three candidates, or apply peel-and-stick samples. Check them at 7am, noon, 5pm, and after dark. Repeat on differently facing walls, then live with the samples for a few days before deciding.
Refresh caulk at baseboards and trim
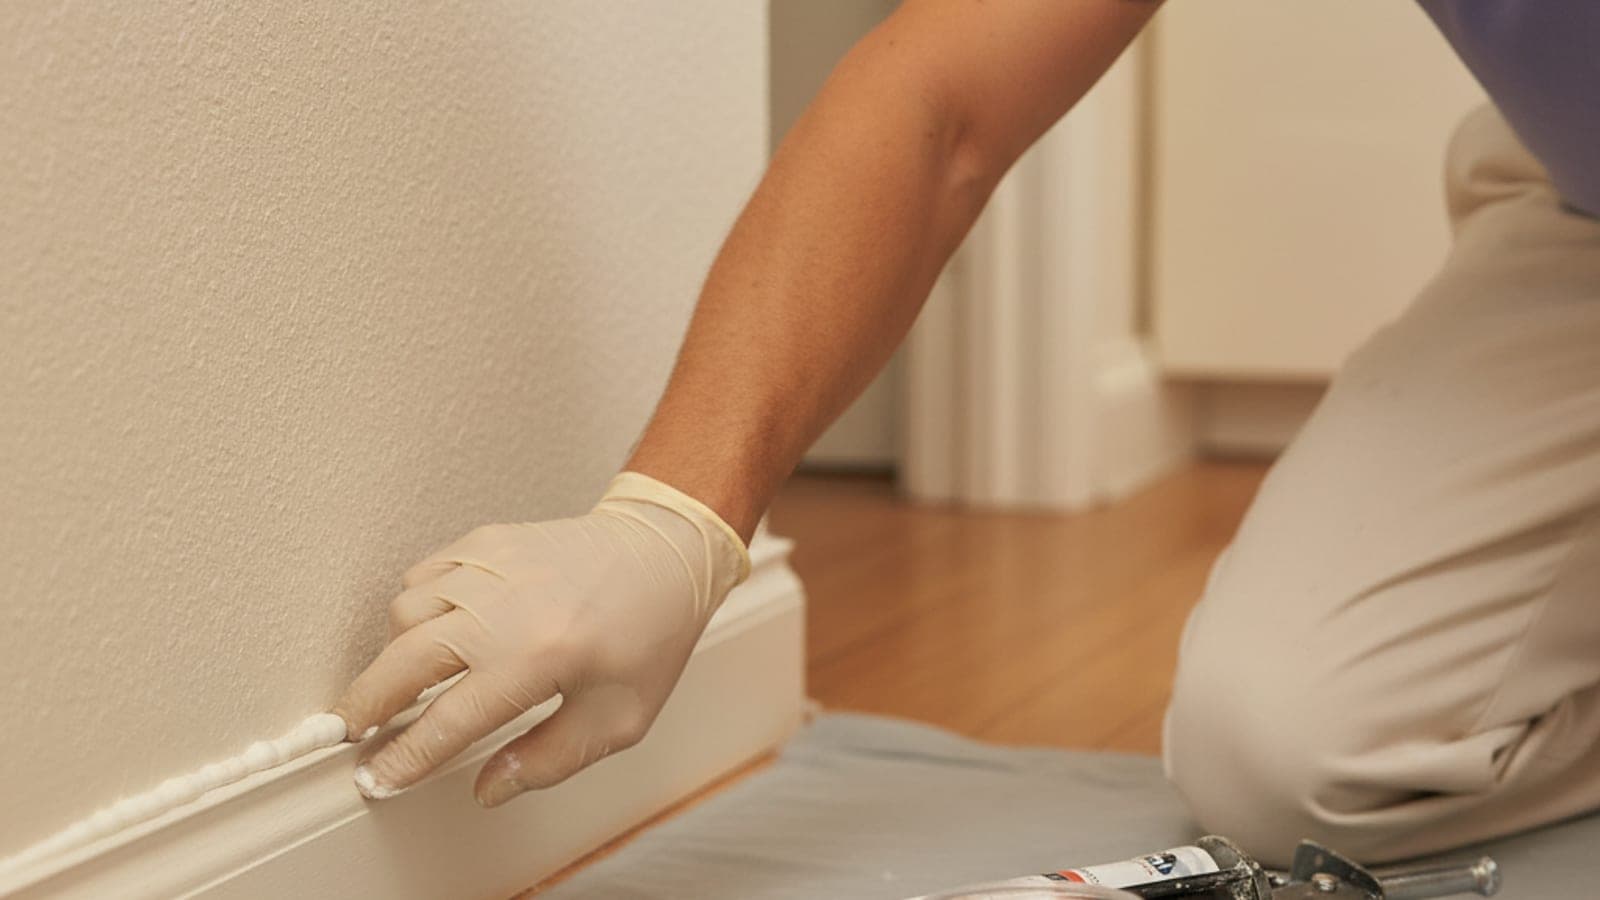
To refresh caulk at a baseboard or trim line, cut the old bead out, clean the joint dry, run one continuous bead of paintable acrylic caulk, and tool it smooth before it skins. Cracked caulk lines make a whole room look neglected, and this is the short version of the fix.