Test paint colors before committing
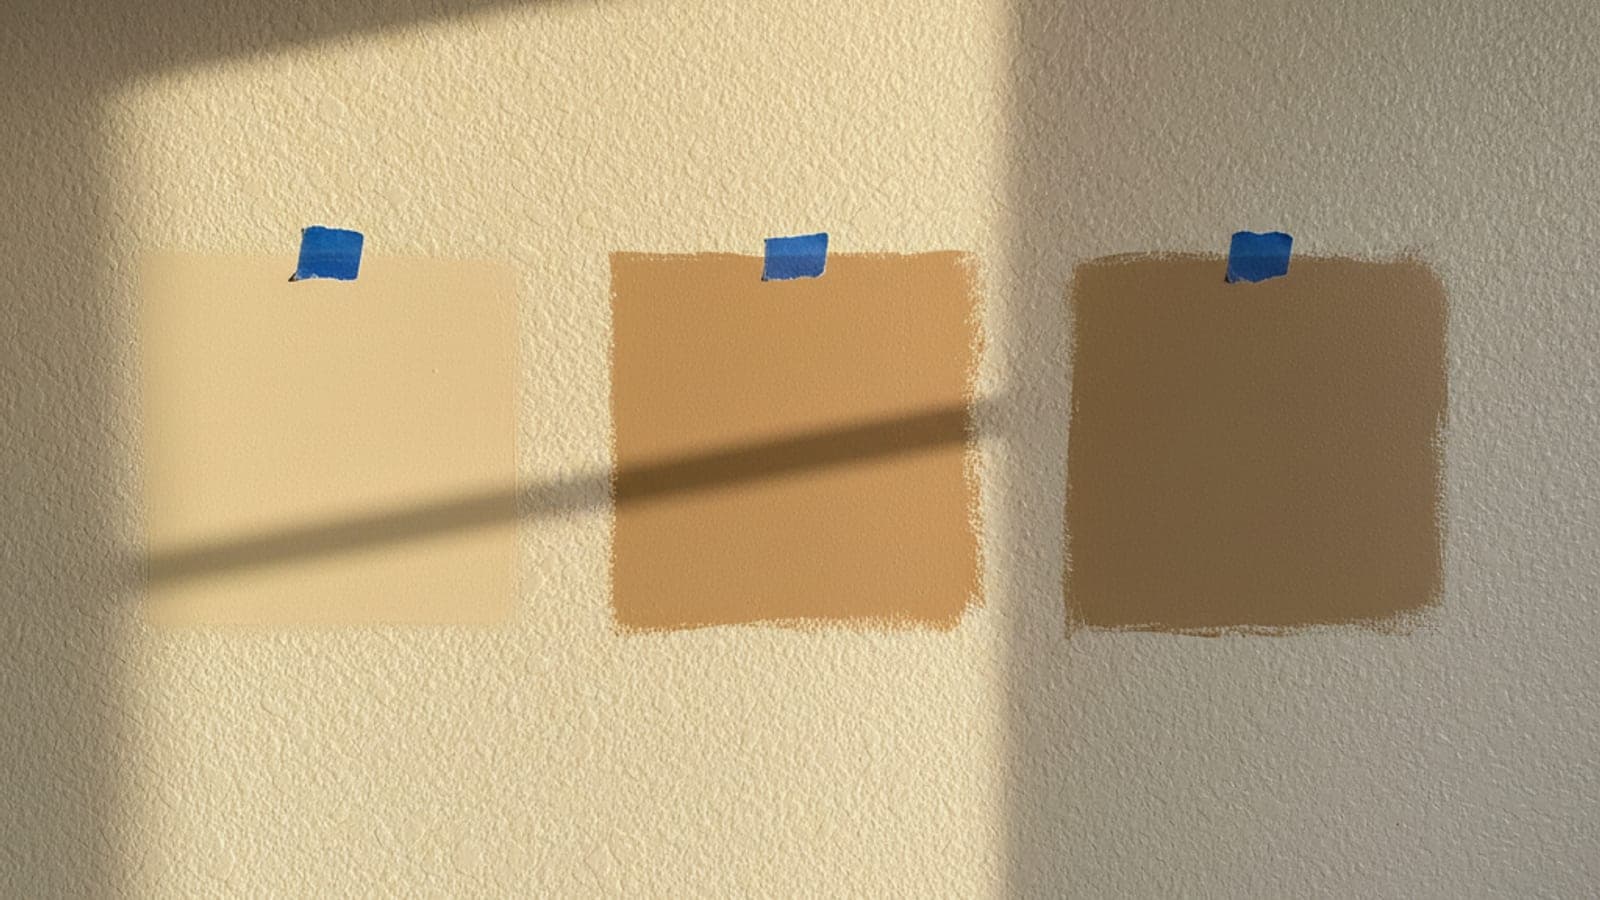
Test paint colors with large-format samples, 12 by 12 inches or bigger, placed on the actual wall. Use sample quarts for two or three candidates, or apply peel-and-stick samples. Check them at 7am, noon, 5pm, and after dark. Repeat on differently facing walls, then live with the samples for a few days before deciding.
What you'll learn
- Why large-format sampling (12"×12"+) beats small swatches
- How light changes color across the day, test at 7am, noon, 5pm
- Why you need to test on multiple walls in the same room
- How to use a painter's paper sample (Samplize) vs. a real quart
Step by step
- Buy sample-size quarts of 2–3 top candidates, or order Samplize peel-and-stick samples.
- Paint or stick each sample in a 12×12" square on the actual wall.
- Look at each at 7am, noon, 5pm, and after dark.
- Repeat on perpendicular walls, north, south, east, west facing.
- Live with the samples for a few days before committing.
Why the same color keeps changing
Paint color depends on the light reaching the wall. A north-facing wall often gets cooler, indirect light. The same sample can feel muted or gray there. A south-facing wall receives stronger, warmer light, which can bring forward cream, yellow, or red undertones.
San Diego's bright, high-contrast daylight can make a sample look lighter outside peak shadow. Later, the finished room may feel deeper once every wall carries that color. Corners, hallways, and walls away from windows can deepen it further. Evening lamps also shift the balance, especially with warm bulbs.
Existing finishes affect what your eyes see. Cool tile can make a warm neutral look more beige. Honey-toned wood may pull yellow from an off-white. Bright white trim creates contrast, making the wall color seem darker. Cream trim can make that same wall look cooler or slightly blue.
The old wall color matters too. A sample placed over dark paint gets framed by that darker field. This can make the sample appear brighter and cleaner than it will across the room. Strong red, blue, or green walls can also distort nearby undertones. A separate sample surface helps isolate the color from the old finish. If you paint directly on the wall, use enough coverage to hide what sits underneath. Follow the sample product's label for application and recoating instructions.
When a painter should assess the room
Color testing becomes harder when the room has mixed lighting. Large windows, skylights, shaded glass, and several bulb types can create competing color casts. Open floor plans add another problem. One color may cross bright kitchens, dim hallways, and living areas with different floors.
A painter should also look when surface condition affects the sample. Heavy texture, patched drywall, stains, uneven sheen, or repairs can change how light reflects. That can make a color problem look like a selection problem. Dark walls may need a planned base coat before the final color reads correctly.
Bring in a professional when trim, cabinets, ceilings, and walls must coordinate. Small undertone conflicts become obvious where those surfaces meet. This matters in rooms with fixed stone, tile, wood, or older painted finishes that aren't changing.
Paint Pros San Diego can match you with an independent painter. The painter can inspect the lighting, surfaces, and adjoining finishes before you commit. You hire and pay the painter directly.
Never pick paint color under store fluorescent lighting. Warm neutrals look gray-cool in stores and warm on your actual wall, that's one of the most common color regrets.
Rather have a pro handle it?
Licensed painters across San Diego County. Licensed local painters, matched to the area you call about.
Keep learning.
Touch up scuffs on interior walls
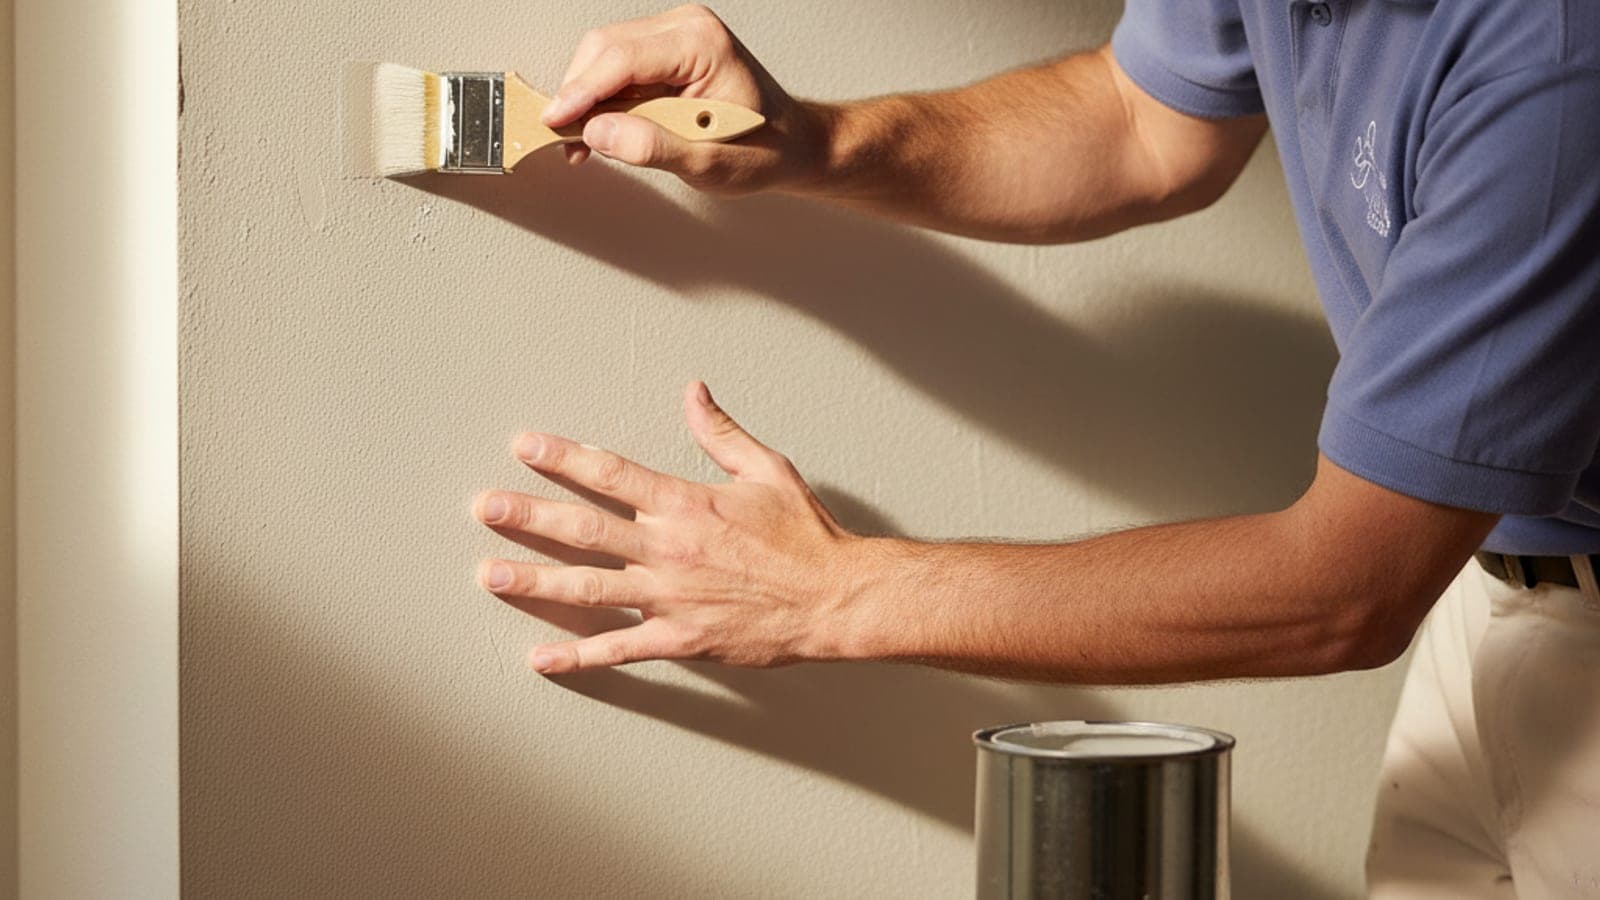
To touch up a wall scuff, clean the mark with a damp magic eraser and let it dry. Stir the leftover paint, then use a small art brush or artist’s sponge instead of a roller. Dab rather than stroke, feathering the paint outward to blend the edges.
Patch nail holes before paint
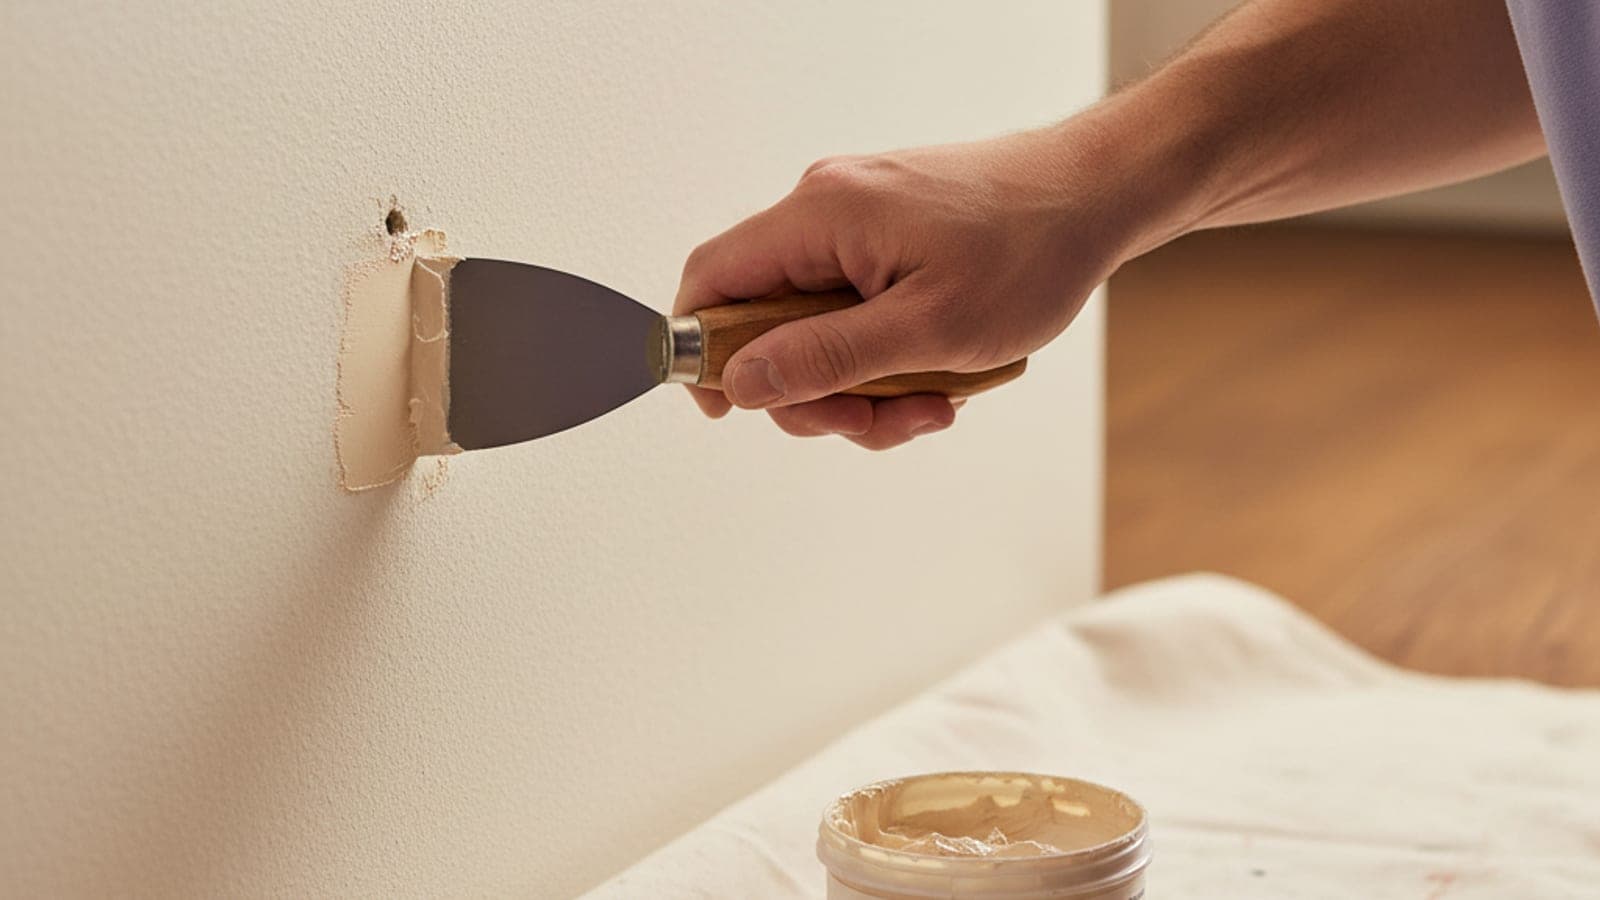
To make a nail hole disappear, press lightweight spackle slightly overfull with a small putty knife. Scrape it flush in one clean pass, then let it dry for the time stated on the container. Sand the patch flush and spot-prime it before applying paint.
Refresh caulk at baseboards and trim
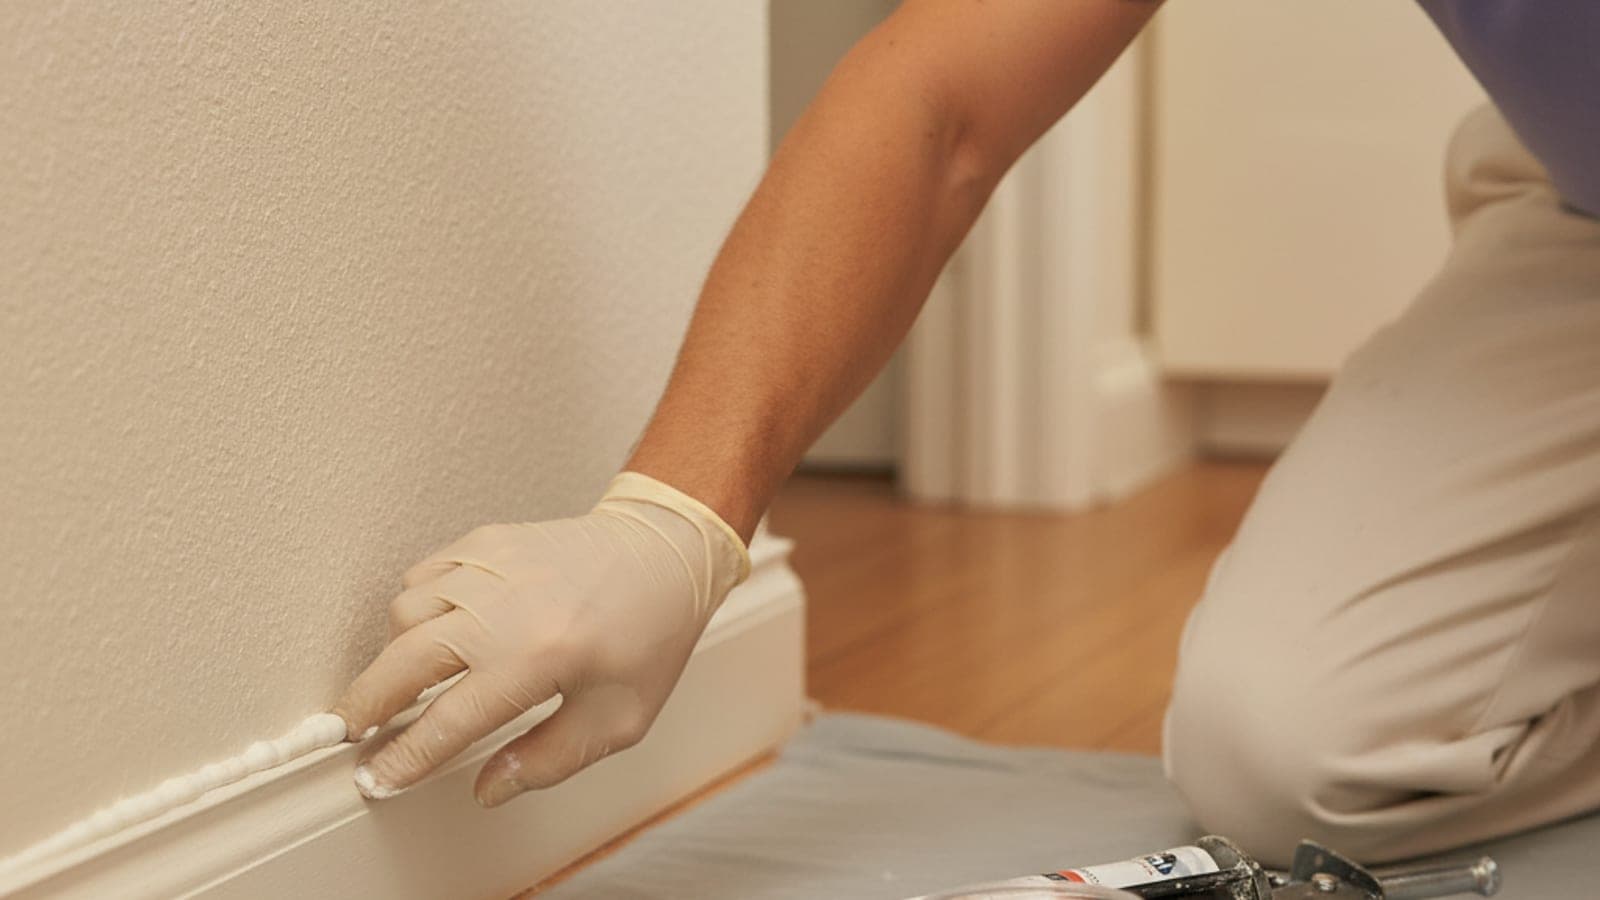
To refresh caulk at a baseboard or trim line, cut the old bead out, clean the joint dry, run one continuous bead of paintable acrylic caulk, and tool it smooth before it skins. Cracked caulk lines make a whole room look neglected, and this is the short version of the fix.