Swap cabinet hardware without damage
New pulls and knobs update a kitchen for very little. The trick is matching the hole spacing.
What you'll learn
- How to measure existing pull spacing (center-to-center, in inches)
- What to do if new pulls don't match old hole spacing
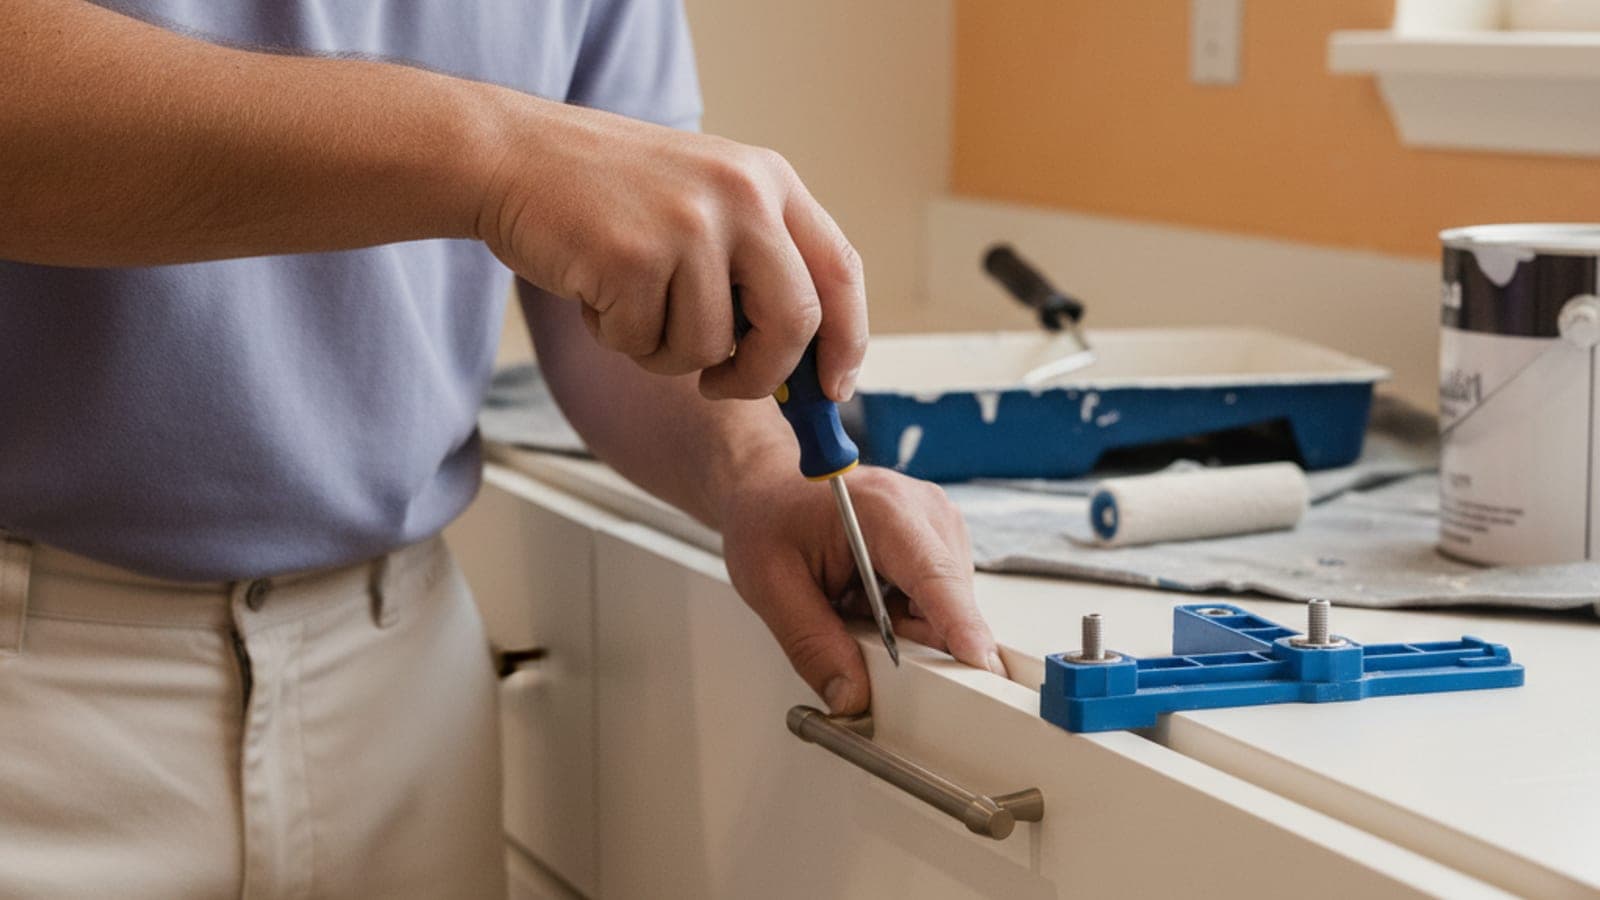
- Why a drilling jig saves hours if you're swapping 20+ pulls
- The trick for hiding old holes that won't be reused
Step by step
- Remove one existing pull. Measure center-to-center between screw holes.
- Buy new pulls with matching spacing (3", 3.75", 5", 6.3" are common).
- Install directly in existing holes, no drilling needed.
- If switching from knobs to pulls, use a drilling jig to keep the new holes straight across all doors.
- Fill unused old holes with paintable wood filler, sand flush, paint to match.
Why a simple hardware swap gets complicated
Hardware spacing isn't standardized across every cabinet line or manufacturing period. Two pulls can look almost identical while placing their screws differently. Even a small mismatch can pull the hardware crooked, strain the screws, or damage the door face. When the holes don't align, the practical choices are different hardware, a backplate that covers the old marks, or careful filling and refinishing before drilling again.
Removing the old hardware can reveal more than empty holes. Paint may have built up against the edges, leaving a visible ridge. The covered finish may also look cleaner or darker than the exposed area. Oversized holes, compressed fibers, and chipped edges can prevent the new hardware from sitting flat. These problems often need surface repair before the replacement looks intentional.
Check the door material before making another hole. Solid wood usually shows continuous grain along an unfinished edge or inside a hinge opening. MDF has a smooth, dense interior without visible wood grain. Particleboard has a coarse, chipped interior made from pressed wood particles. Painted surfaces can hide these differences, so inspect an existing opening instead of guessing from the front.
Thin doors and engineered panels need extra care around new fasteners. Heavy hardware can place more stress on a small area. A screw that's too short may not hold securely. One that's too long can break through the face. Follow the hardware maker's instructions, and confirm the screw length against the actual door thickness.
When refinishing belongs in the plan
A direct replacement stays manageable when the holes align and the surrounding finish remains sound. The answer changes when old holes must disappear, chipped edges need rebuilding, or faded outlines remain visible after removal. Spot repairs can stand out on smooth cabinet doors, especially under kitchen lighting.
Call for painting help when several doors need filling, drilling, and finish repair. The same applies when the existing coating peels during removal or cracks around the fasteners. A painter should also inspect doors with swelling, crumbling material, loose hinge areas, or previous patches that won't hold. Those conditions can make a hardware change part of a larger cabinet repair.
Changing from knobs to pulls can also shift the visual alignment across the room. Slight drilling differences become obvious when doors and drawers sit beside each other. If the cabinet finish needs repainting anyway, planning the holes before coating creates a cleaner result. Paint Pros San Diego can match you with an independent local painter. You contract with and pay the painter directly.
Never force a pull into holes that don't quite match, the screws will bend or strip. If spacing is off by even 1/8", you need either new holes or different pulls.
Rather have a pro handle it?
Licensed painters across San Diego County. Licensed local painters, matched to the area you call about.
Keep learning.
Touch up scuffs on interior walls
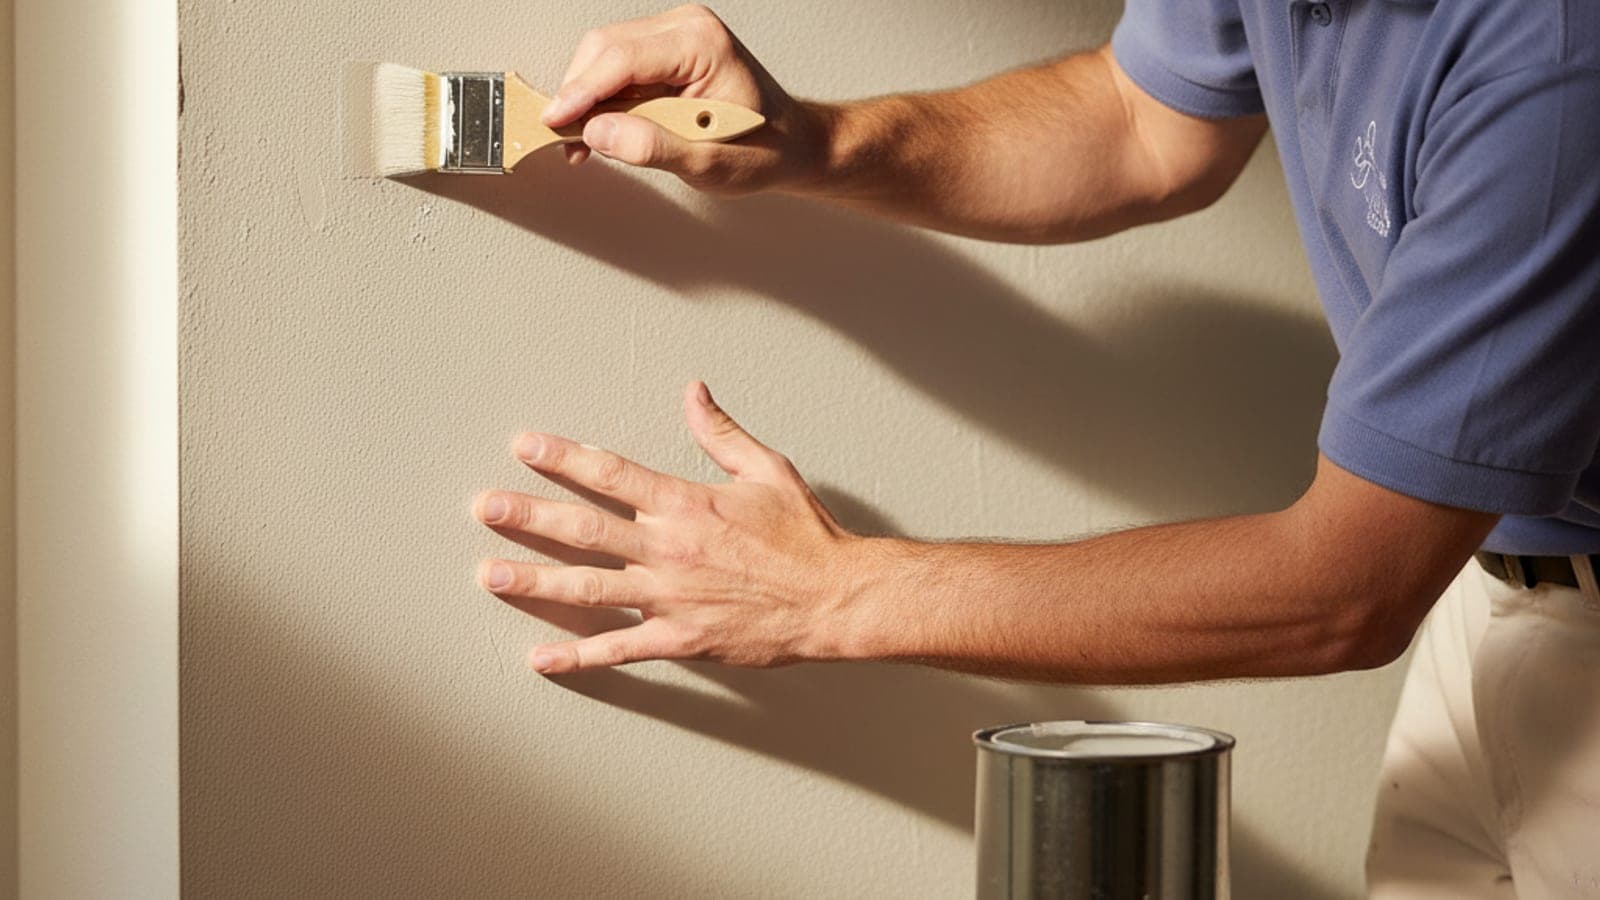
To touch up a wall scuff, clean the mark with a damp magic eraser and let it dry. Stir the leftover paint, then use a small art brush or artist’s sponge instead of a roller. Dab rather than stroke, feathering the paint outward to blend the edges.
Patch nail holes before paint
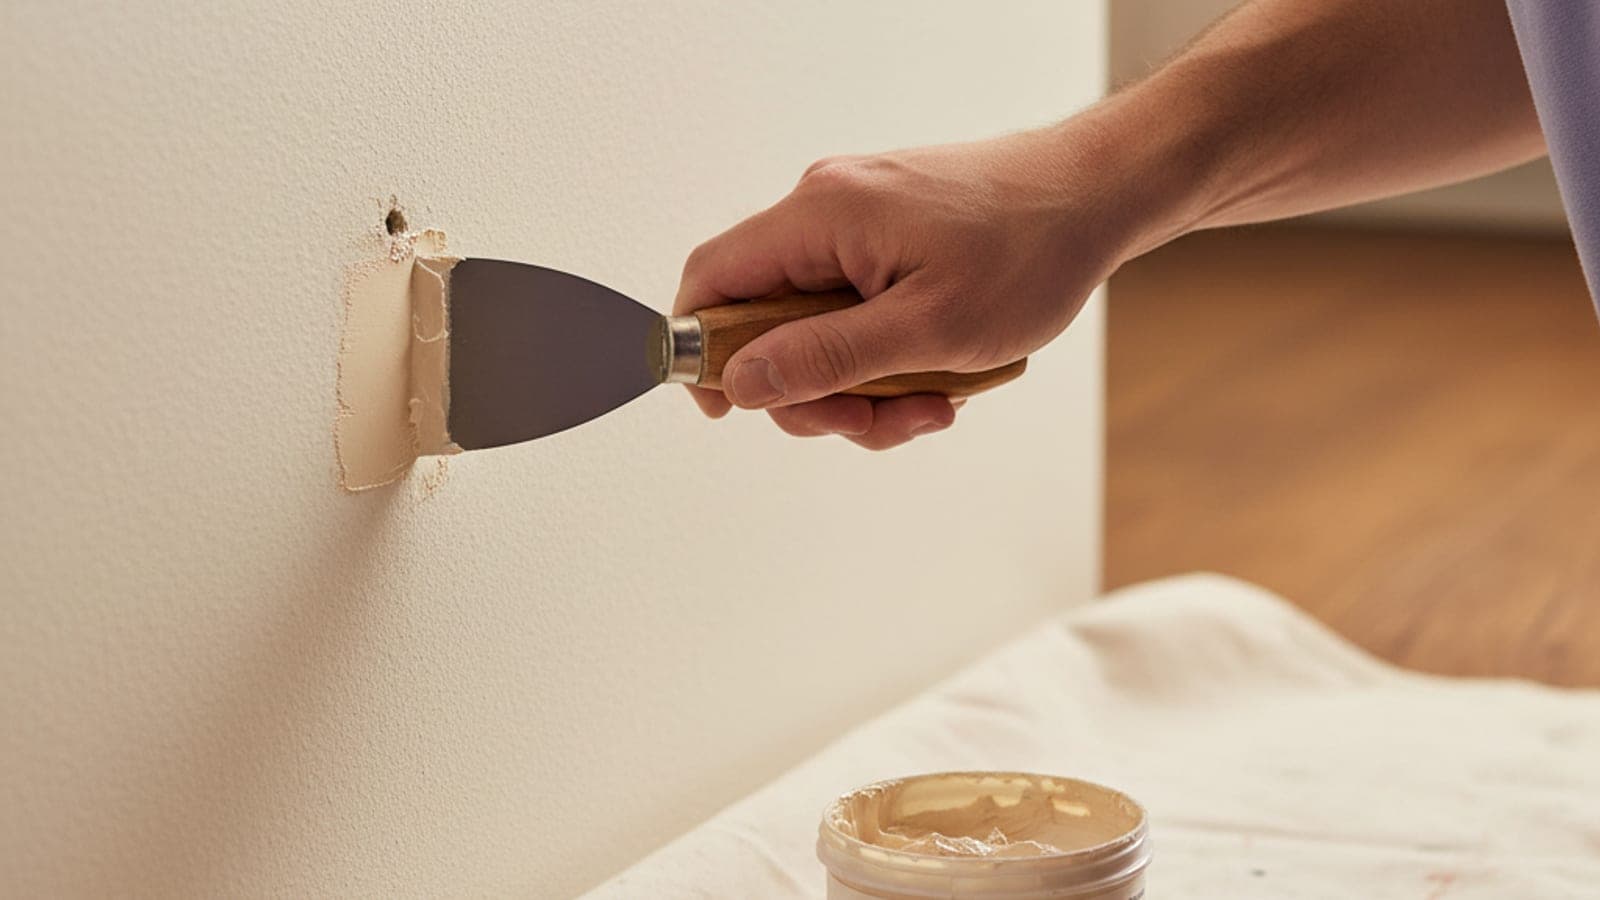
To make a nail hole disappear, press lightweight spackle slightly overfull with a small putty knife. Scrape it flush in one clean pass, then let it dry for the time stated on the container. Sand the patch flush and spot-prime it before applying paint.
Test paint colors before committing
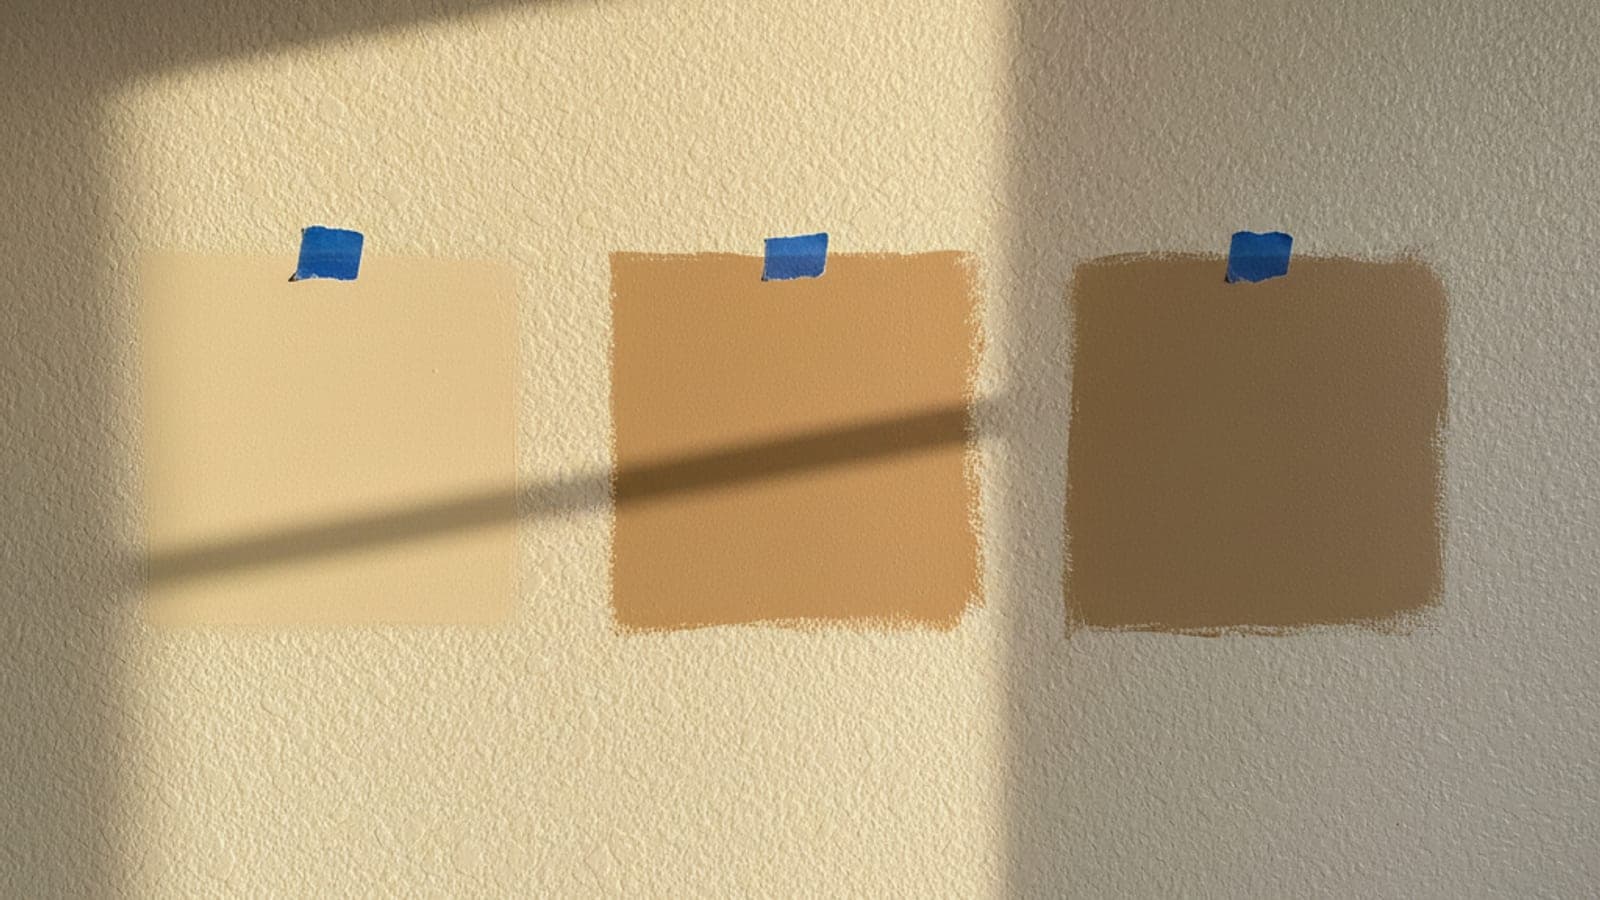
Test paint colors with large-format samples, 12 by 12 inches or bigger, placed on the actual wall. Use sample quarts for two or three candidates, or apply peel-and-stick samples. Check them at 7am, noon, 5pm, and after dark. Repeat on differently facing walls, then live with the samples for a few days before deciding.