White cabinet paint shows problems that other colors hide. A slight yellow cast or a chip near the hinge doesn’t mean the paint was bad. It usually means the surface underneath wasn’t ready for it, or the enamel chosen wasn’t built for cabinet-level daily wear.
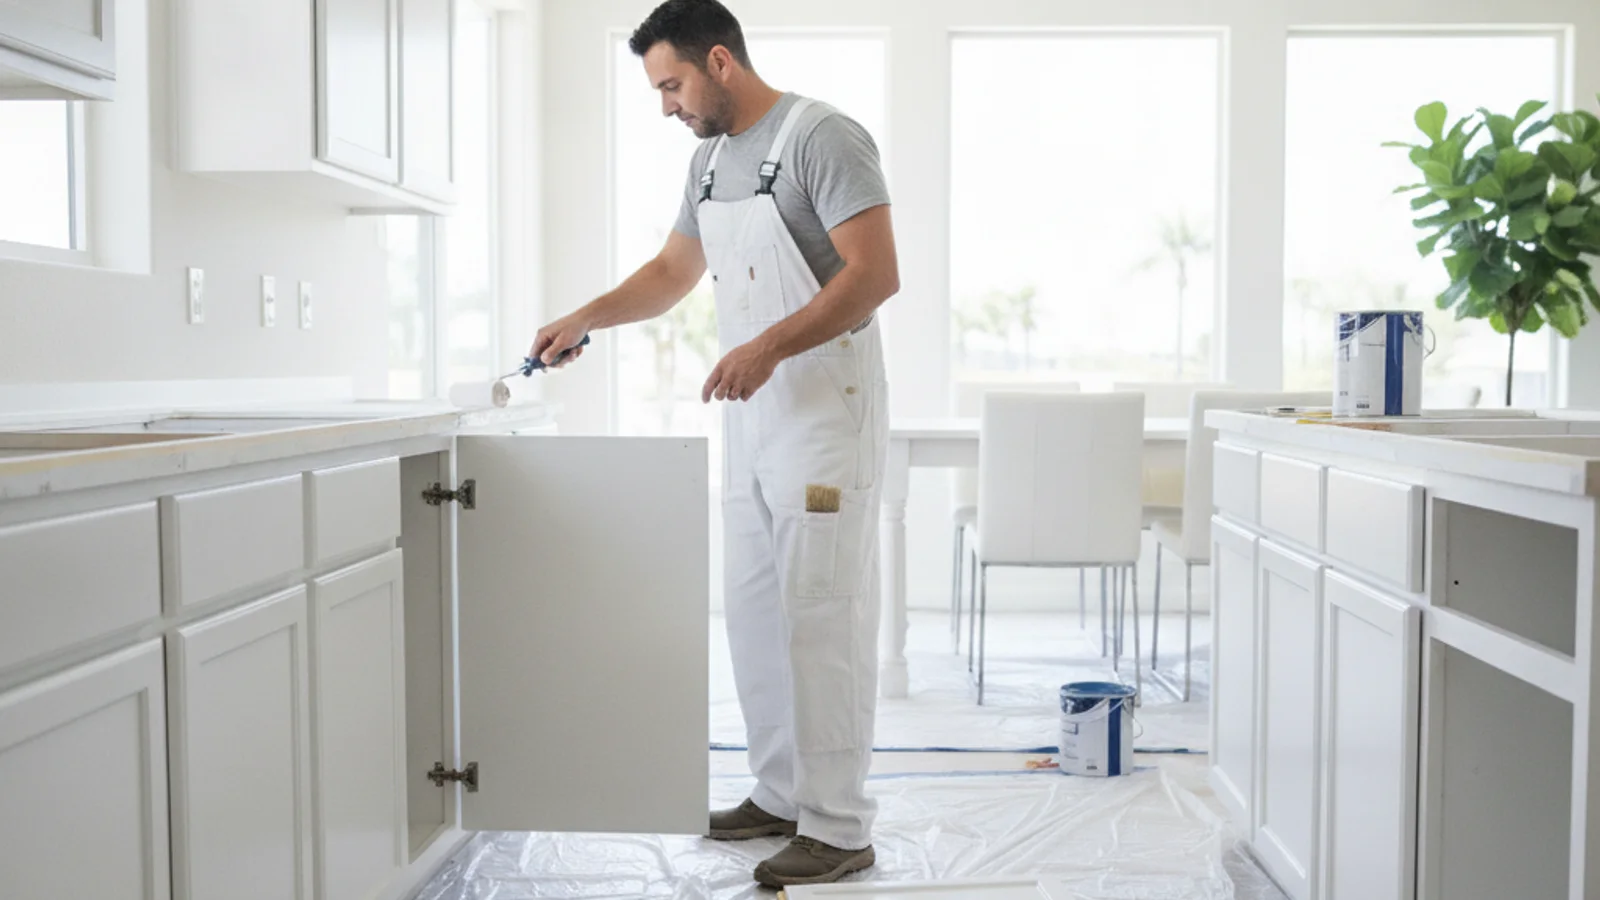
Why white finishes reveal weak surface preparation
Any dust, wax residue, or leftover cleaning product left on a cabinet surface shows up differently under white than under a darker color. White reflects light evenly, so unevenness in the film underneath, thin spots, sanding scratches, or a patch of poor adhesion, reads as a visible flaw instead of blending in.
Chipping near hinges, handles, and door edges usually points to a film that never bonded properly to the substrate. That happens when a glossy factory finish gets painted over without deglossing or sanding first, or when a degreaser step got skipped on cabinets near the stove where cooking residue builds up fastest. Paint can sit on top of grease and oils and look fine on install day, then start lifting in small chips within the first months of hinge use and cabinet door slams.
Yellowing is a separate issue from chipping, and it isn’t always a sign of a bad job. Some enamel chemistries amber slightly as they cure and age, a known characteristic of certain product families that a painter familiar with cabinet-grade coatings should be able to explain before the job starts. What shouldn’t happen is uneven yellowing, patches that discolor faster than the rest of the door, which usually traces back to inconsistent coats or a stain underneath that wasn’t fully sealed before the white went on.
The cabinet frame itself matters too. Doors and drawer fronts get handled directly, but the surrounding face frame and interior box surfaces take a different kind of wear, mostly from moisture and cleaning products rather than direct hand contact. A painter who preps and coats every surface consistently, not just the visible door fronts, avoids the situation where the frame yellows or wears at a different rate than the doors around it.
How grease, tannins, and old coatings affect adhesion
Kitchen cabinets accumulate a layer of airborne grease that’s often invisible until you wipe a cloth across the surface and see it come away dirty. That film sits between the wood and any new coat of paint, and even a thorough visual cleaning can miss it if the actual degreasing step gets rushed. A painter should clean cabinet surfaces with a dedicated degreaser, not just a general household cleaner, before any sanding begins.
Wood tannins are the other common culprit, especially on cabinets originally finished in oak, cherry, or other tannin-rich species. Tannins can bleed through a standard latex primer over time, showing up as a yellow or brown stain that surfaces weeks or months after painting, right through a coat of white. A stain-blocking primer built for this, such as Cover Stain or B-I-N, is the standard fix, and a painter who skips this step on tannin-heavy wood is setting up a callback.
Old coatings matter too. If cabinets were previously painted, stained, or sealed with a factory catalyzed finish, that layer needs to be scuffed or stripped enough for the new primer to grip. Painting directly over a slick factory finish without proper deglossing is one of the most common reasons a new cabinet finish fails at the exact points where doors get touched and opened most.
If your cabinets or the surrounding kitchen date back further than you know, it’s worth asking a painter whether the home’s age changes anything about the prep plan. Homes built before 1978 fall under the EPA’s Renovation, Repair and Painting rule whenever sanding or scraping disturbs existing painted surfaces, which means the work needs to be handled by a certified firm following lead-safe practices rather than treated like a routine repaint. Ask directly whether your home falls into that category and whether the painter you’re considering holds that certification.
Compare acrylic urethane, alkyd, and other enamels
Not every white paint is built to survive a kitchen. Wall paint, even a good one, isn’t formulated for the friction and hand contact cabinets take every day. Cabinet-grade enamels fall into a few families, and a painter should be able to say which one they’re proposing and why.
Waterborne acrylic urethanes have become a common choice for cabinet work because they lay down smoothly and clean up easier than oil-based options. Products like Emerald Urethane Trim Enamel, ADVANCE, and ProClassic are current examples of this category, and a painter comparing options might reference names like these as spec examples of what’s available. Alkyd and oil-modified enamels are still used on some jobs for their leveling and hardness, though they typically require more careful ventilation and cleanup. Dedicated cabinet products like Cabinet Coat exist specifically because standard trim paint doesn’t hold up the same way on doors that open and close constantly.
Ask any painter you’re considering which specific product line they plan to use, and confirm the manufacturer’s own technical data sheet supports cabinet-level use, rather than relying on a generic “cabinet paint” label. The cabinet painting service page and the professional cabinet refinishing process walk through what a properly sequenced job looks like from prep through final coat.
Application method affects the outcome as much as the product itself. A sprayed finish, applied in a controlled setting away from household dust, generally lays down more evenly than a brushed or rolled coat, which is part of why many painters remove cabinet doors and finish them off-site. Ask whether the painter sprays doors separately from the fixed cabinet boxes, and if so, where that spraying happens and how they’ll match the sheen and texture between the two.
Plan sheen and color for San Diego daylight
Sheen matters more than most homeowners expect when it comes to hiding or showing wear. A higher sheen shows every scuff, fingerprint, and hairline scratch clearly, while a lower sheen hides minor surface texture better but can be harder to wipe clean around a stove or sink. Ask a painter which sheen they recommend for your specific kitchen layout and how much direct light the cabinets get, rather than defaulting to whatever sheen they always use.
San Diego’s coastal light runs cooler than inland light, which can make some whites look flatter or slightly gray depending on the room’s exposure. A color consultation before committing to a specific white helps confirm how a sample actually reads on your cabinets, in your kitchen’s light, at different times of day, rather than guessing from a paint chip under store lighting.
A kitchen with a north-facing window tends to get flatter, cooler light through most of the day, which can push a white toward looking gray or slightly blue on the cabinet surface. A kitchen with strong afternoon sun from the west can wash out subtle undertones entirely. Bringing a large sample board into the actual kitchen, rather than judging from a small chip, is the only reliable way to see how a specific white behaves in your specific light.
Know when refinishing beats another touch-up
A small chip near one hinge can often be touched up on its own. Widespread yellowing across multiple doors, chipping that keeps recurring in the same spots after a repair, or a finish that’s visibly failing at the edges of most doors usually means the underlying prep or product choice was wrong from the start, and another touch-up will fail the same way.
At that point, a full refinish, stripped back to bare or properly prepped substrate and rebuilt with the right primer and enamel, is the more durable fix. Most cabinet refinishing jobs also cross the minor-work threshold set in California’s Business and Professions Code Section 7048, which currently sets the line for licensed contractor work under current California law. Ask any painter you’re hiring for their CSLB license number and confirm it directly through the CSLB license lookup before signing anything.
If you’re still narrowing down a color before the refinish, the kitchen cabinet paint colors guide is a useful next stop.
When to call us
Recurring chips at the same hinge, yellowing that keeps spreading, or a finish that looks worn within its first year are signs the original prep or product wasn’t matched to the job. Call us at (858) 400-6422 and we’ll connect you with a licensed local painter.