A repaired wall can look finished, then show the same line again. Drywall cracks after painting should be treated as a symptom, not proof of one cause. Inspect the wall and the earlier repair before adding more compound or paint.
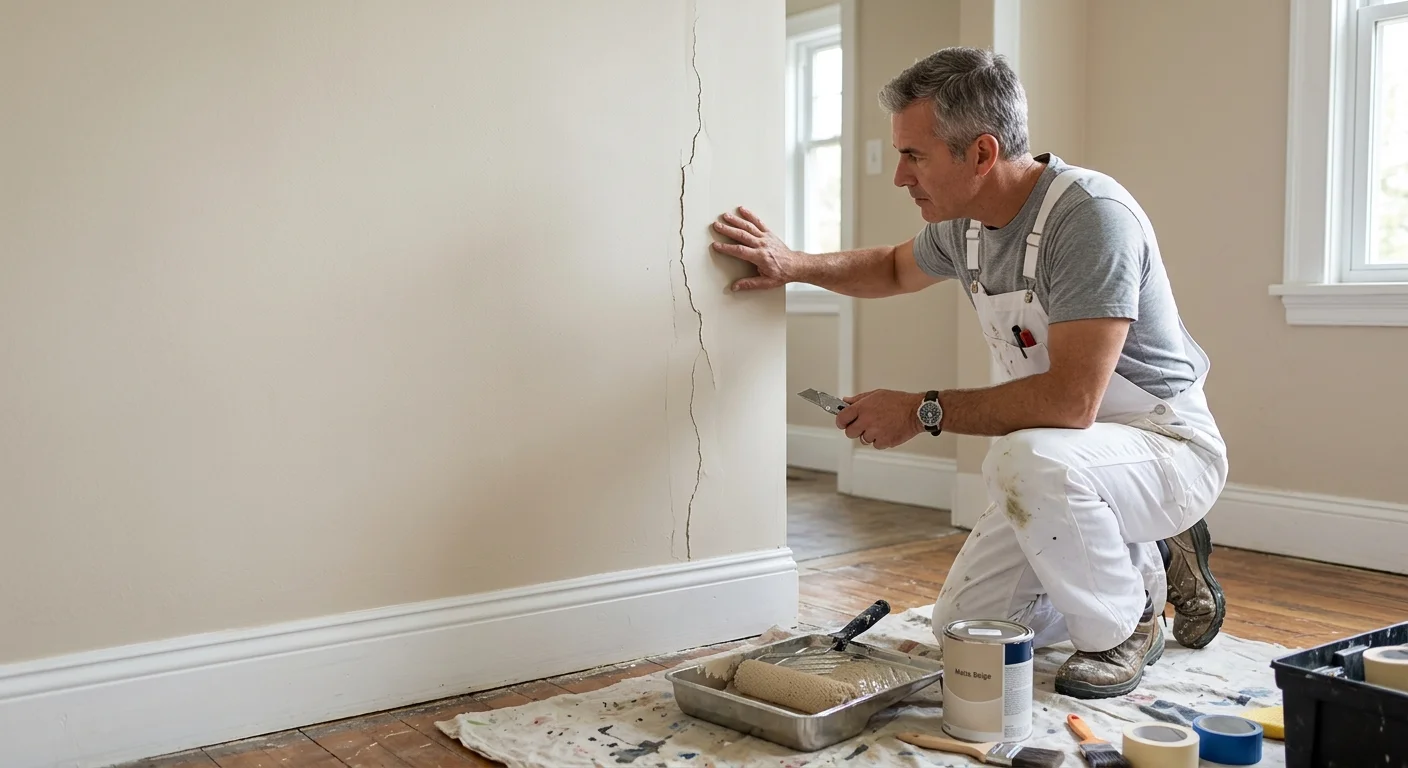
Distinguish a surface crack from active movement
Start with what you can observe. Don’t diagnose structural movement, moisture, or hidden damage from the crack alone. A narrow line in paint, a split along an old patch, and a changing gap require different conversations.
Record where the crack begins and ends. Note whether it follows a straight seam, surrounds a fastener, or crosses several surfaces. Look for loose tape, raised edges, staining, softness, or nearby damage. These details help a qualified professional decide what should be inspected next.
Take clear, dated photos from the same position. Include one close view and another showing the whole wall. Don’t rely on memory to decide whether the line has changed. Comparing photos gives the assessor better information.
Also record what happened during the previous repair. Useful details include:
- Whether the crack was only filled or opened first
- Whether tape was removed, replaced, or left in place
- Which repair material and primer were used
- How much of the wall received new paint
- Whether the crack appeared before or after another property issue
A drywall crack that keeps coming back may need more than another cosmetic pass. The visible line doesn’t identify the underlying condition by itself. Avoid assigning a cause until the surrounding wall and prior patch have been checked.
Location matters too. A crack near an earlier plumbing opening deserves different questions than one over an old seam. Our guide to drywall texture after plumbing repair explains how repaired openings affect the finishing plan.
Inspect repairs beneath the existing paint
Fresh paint can hide the boundaries of an earlier patch. Side lighting may reveal ridges, depressions, loose edges, or a texture change around it. View the wall from several angles before anyone starts sanding or filling.
Ask the repair professional to explain what they can confirm. The inspection might focus on the visible coating, repair material, tape, fasteners, or adjacent drywall. If the existing finish prevents a clear assessment, the professional should explain what limited opening or preparation they recommend.
Don’t choose a repair material by name alone. Spackle and joint compound aren’t interchangeable labels for every wall problem. The existing damage, patch depth, joint condition, and planned finish should guide the scope. This spackle versus joint compound guide can help you ask more precise questions without diagnosing the crack yourself.
Older housing also changes the safety conversation. According to verified Census data, 49.6% of housing units in the City of San Diego were built before 1978. The share differs across the county. It is 62.5% in El Cajon and 27.5% in Carlsbad.
For paid renovation work that disturbs painted surfaces in pre-1978 housing, the federal RRP rule requires an EPA-certified firm and lead-safe work practices. The rule includes containment and specific controls for powered sanding or grinding. Review the EPA Renovation, Repair and Painting program before covered work begins.
Don’t sand an unknown older coating merely to inspect the patch. Ask the professional how the home’s age affects their process. The correct answer should address the wall in front of them, not make assumptions from appearance.
Decide who should assess recurring damage
The first call depends on what remains uncertain. A painter can discuss finish preparation, texture, primer, color, and repaint scope. A drywall repair professional can evaluate the failed patch and propose a repair method. Neither role should guess about conditions outside that scope.
If you suspect building movement or hidden water, pause the paint decision. Ask an appropriate qualified professional to assess that concern first. Painting over the line won’t provide an answer about what is happening behind or around the wall.
Share your photos and repair history with each person. Explain whether the line changed, whether staining appeared, and whether another repair happened nearby. Ask each professional to separate confirmed observations from possible causes.
For a focused drywall project, our drywall repair and texture match service connects homeowners with licensed independent local painters. Before signing, confirm whether the proposed scope includes opening the failed patch, replacing damaged materials, matching texture, priming, and repainting.
You can also compare the process described in our guide to drywall repair contractors in San Diego. Use it to organize quote questions, not to select a diagnosis in advance.
Verify the contractor’s status through the CSLB license check. Ask the quoting professional for written details about exclusions and responsibility for related repairs. Paint Pros San Diego is a referral service. The homeowner contracts with and pays the independent professional directly.
Plan texture matching before primer and paint
A closed crack can still stand out when the repaired area doesn’t match the surrounding texture. Make texture part of the repair discussion before primer or color goes on. Otherwise, the wall may need more preparation after it already looks finished.
Start by viewing the area in ordinary room lighting. Check it from the doorway, from a seated position, and along the wall. Light from a window or ceiling fixture can make the repair boundary easier to see.
Ask the professional to identify the visible texture without promising an invisible patch. Then ask how large a sample area they want to prepare. A test section lets you review the proposed result before the finish spreads across a larger area.
Agree on the edges of the work. The written scope should distinguish among the repaired opening, the texture blend, the primed area, and the painted area. Those boundaries aren’t always identical.
Primer also belongs in the plan before painting starts. Ask which repaired surfaces will receive primer and how the professional will handle the surrounding painted wall. Our guide to primer after drywall repair offers questions for comparing scopes.
Don’t approve the wall only from directly in front of it. Review the dried sample from the angles where the crack was most visible. Look at the texture transition, sheen, and repair outline. If the result is unacceptable, settle the preparation issue before authorizing the final coat.
For walls with several old patches, ask whether a broader preparation area makes more sense. The professional should explain the visual tradeoff and identify every surface included in the proposal.
Compare spot repair with a wider repaint
A spot repair limits the immediate work area. A wider repaint carries the finish across more of the wall or room. The right scope depends on what you want the completed space to look like and what the professional finds during inspection.
Begin with the smallest defensible repair area. Then compare it with a full-wall option. Ask where each scope stops, including corners, trim, ceilings, doors, and adjoining walls. A phrase such as “paint repaired area” isn’t specific enough for comparing proposals.
Color and sheen should be evaluated on the actual wall. Keep any labeled leftover coating available for the painter to inspect. Don’t assume that a similar name means the repaired area will blend with the existing finish.
A spot repair may suit a limited patch when the homeowner accepts a visible transition. A wider repaint may be preferable when several patches, strong side lighting, or finish differences affect the decision. These are visual scope choices, not proof that the crack’s cause has been corrected.
Request separate written descriptions for repair and painting. The repair portion should identify the area being opened, patched, and textured. The painting portion should name the surfaces receiving primer and finish coats. This separation makes omissions easier to spot.
If the surrounding room also needs attention, review the options for interior painting after the recurring damage has been assessed. Don’t let a larger paint proposal skip the original problem. The crack investigation, repair boundaries, texture approval, and repaint scope should remain clear.
Finally, save the proposal and take photos before work begins. After completion, photograph the same area from the same positions. That record helps you describe what changed if the wall crack appears after repainting again.
When to call us
Call when the crack has been assessed and you need a qualified local painting professional for drywall repair, texture matching, primer, or a wider repaint. Call us at (858) 400-6422 and we’ll connect you with a licensed local painter.