Stand in the patching aisle long enough and it looks like spackle and joint compound do the same job. Grab the wrong one for the repair in front of you, though, and it either shrinks back out of the hole or takes far more sanding than it should. The two products are built for different jobs, and knowing which one to reach for saves a redo.
Is spackle the same as joint compound?
No. Spackle vs joint compound is a job-size split, not two names for one tub. Spackle is for nail holes and dings. Joint compound, the same product people call drywall compound or sheetrock mud, is for seams and larger patches. Using spackle on a taped seam shrinks and flashes. Using mud in a deep nail hole sags and takes extra coats.
What each product is made to do
Spackle is a thick, ready-mixed paste built for small, isolated repairs. It’s formulated to grip into a tight void, like a nail hole or a picture-hanger hole, and hold its shape without slumping while it sets. Most lightweight spackle formulas dry through evaporation and shrink very little, which is exactly what a small, deep hole needs.
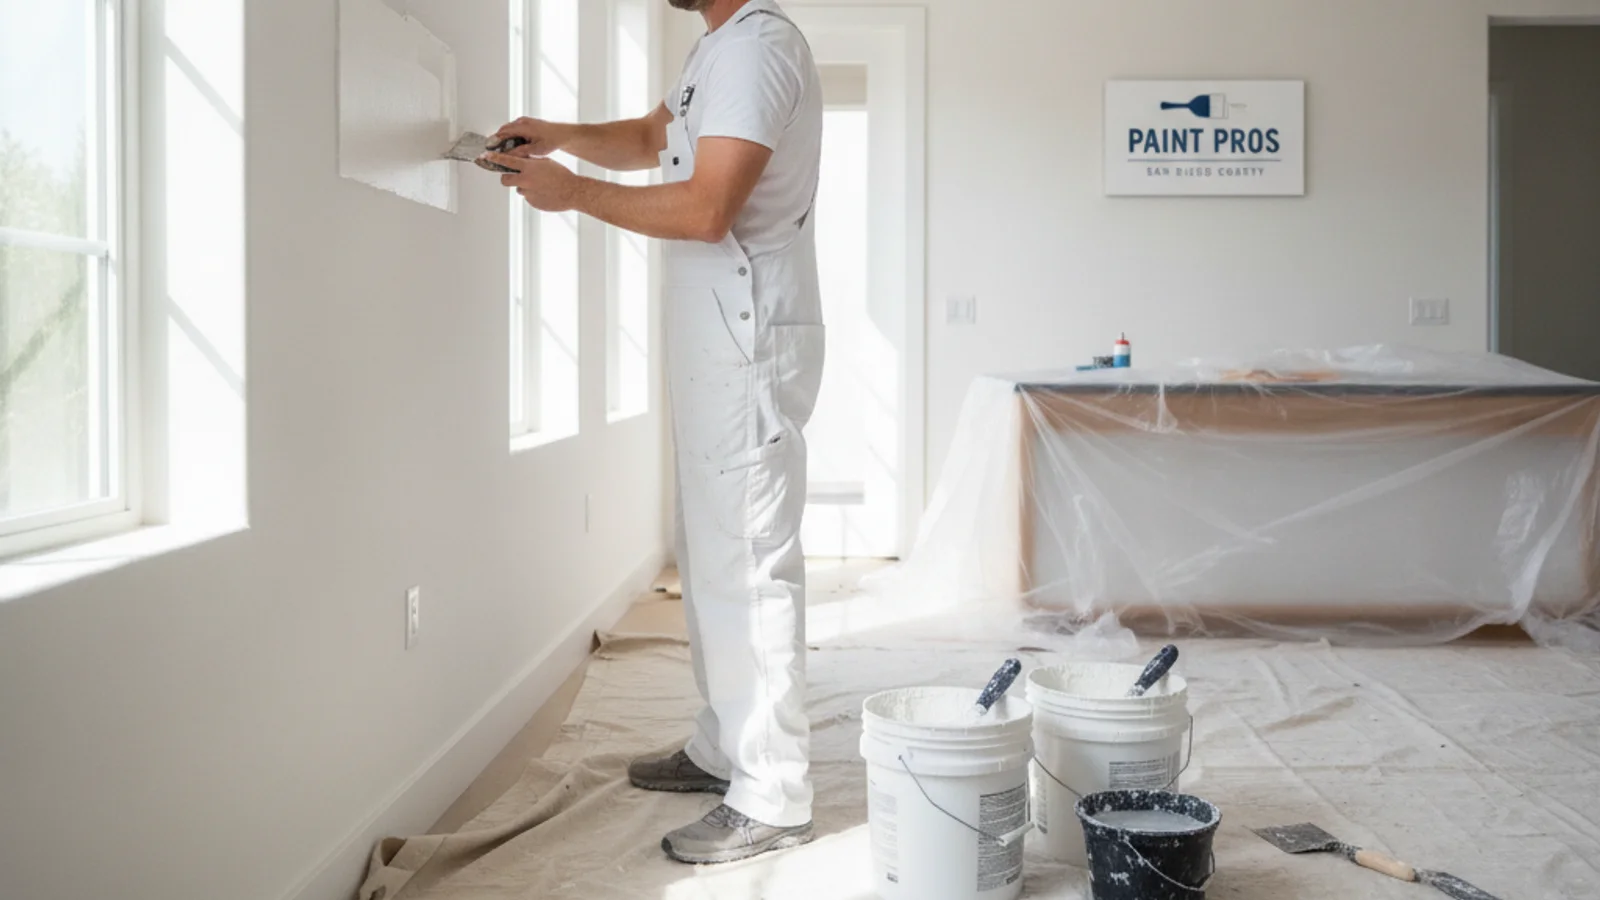
Joint compound, sometimes called “mud,” is the material drywall installers use to finish the seams between sheets of drywall and cover screw or nail heads across a whole wall. It’s designed to spread thin and smooth over a broad area, feather out to nothing at the edges, and build up in layers over a taped seam. It’s mixed to work with a taping knife rather than a putty knife, and it’s meant to cover square feet of wall, not fill a deep void.
The difference comes down to what each one is engineered to resist. Spackle resists shrinking and cracking in a small, contained space. Joint compound resists showing a hard edge or a ridge across a wide, flat surface. Using one where the other belongs doesn’t just look wrong, it tends to fail differently too: spackle spread thin over a seam can crack along the tape line, and joint compound packed into a deep hole can shrink and leave a visible dimple once it’s dry.
Texture is another difference worth knowing before a repair starts. Spackle usually goes on and sands smooth with very little dust compared to joint compound, which produces a fine, easily airborne dust when sanded dry. On a repair near furniture, flooring, or in an occupied room, that difference in sanding dust is worth planning around, whether that means wet-sanding compound or simply containing the work area better.
Nail holes and dings: where spackle wins
For a picture-hook hole, a doorknob ding, or a small gouge from moving furniture, spackle is the right call. Its thick consistency stays put in a vertical hole without sagging or falling out before it sets, and because the repair is small and contained, spackle’s minimal shrinkage means one application is usually enough to fill it flush.
Lightweight spackle formulas are also easy to sand once dry, since they’re softer than cured joint compound, which matters on a small spot repair where a homeowner doesn’t want to risk sanding a divot into the surrounding paint. Whichever filler is used, the raw patch needs to be primed and sealed before topcoat paint goes on, since an unprimed patch absorbs paint differently than the surrounding wall and can show through as a dull or shiny spot.
Seams, corners, and larger patches: where compound wins
Joint compound is the better choice the moment a repair spans more than a small, isolated spot. A cracked seam between two ceiling panels, a corner bead that’s come loose, or a section of wall where a whole piece of drywall was cut out and replaced all call for joint compound applied in coats and feathered wide with a taping knife, so the repair blends into the surrounding wall plane instead of standing proud of it.
Compound is also the material of choice anywhere paper or fiberglass mesh tape is involved, because it’s formulated to bond to and embed that tape without the brittleness spackle can develop over a taped joint. A taped seam that’s only ever touched with spackle tends to crack along the tape line again within a short time, because spackle isn’t built to flex and bond the way compound is over a reinforced joint.
Inside corners, the vertical seams where two walls meet, are one of the trickiest spots for either product. A corner that’s cracked open usually needs the old compound cleaned out, fresh tape reset into the corner bead, and compound built up in feathered coats on both sides, a sequence that takes more finesse than a flat seam because the crease has to stay crisp while the compound on either side blends smoothly outward. Rushing a corner repair, or trying to fill it with spackle alone, is one of the more common reasons a corner crack comes back within a season.
Shrinkage, sanding, and how many coats each needs
Both products shrink somewhat as they cure, but they shrink differently. Spackle’s low-shrinkage formulation is built for a single small fill, so what goes into the hole is close to what’s still there once it dries. Joint compound shrinks more per layer, which is why drywall finishers apply it in progressively wider, thinner coats rather than trying to fill a seam in one thick pass. The exact number of coats and the dry time between them depends on humidity, the compound’s formulation, and how thick each layer goes on, so the product’s own label and the coastal humidity on the day of the job are the real guide, not a fixed number.
San Diego’s coastal humidity plays a real role here. A patch drying in a coastal community with heavier marine-layer humidity behaves differently than the same patch drying in a drier inland canyon home, and either way the compound needs to look and feel fully cured, not just dry on the surface, before it gets sanded or primed. Sanding too early on either product tends to gum up sandpaper and leave a rough, uneven surface rather than a smooth one.
A quick-setting compound, sometimes labeled by the setting time on the bag rather than sold as a standard all-purpose mix, is a different product family entirely and cures through a chemical reaction rather than by drying out. It’s a common choice for a deep patch or a repair that needs a second coat the same day, since it sets hard on its own timeline rather than waiting on ambient humidity the way standard compound does. It also sands harder once set, so a painter working with it plans the finish coat differently than with standard joint compound.
What a pro reaches for on a repaint walkthrough
On a walkthrough ahead of a repaint, a painter typically carries both products and picks based on what’s actually on the wall, not habit. Scattered nail holes from removed art or shelving get spackle. Cracked seams, corner damage, and any repair involving replaced drywall get joint compound, often in more than one type: a lighter-bodied “topping” compound for the final smoothing coat over a heavier “all-purpose” compound used to embed tape and build up the base.
Older East County homes with plaster rather than drywall walls are a case apart. Plaster repair sometimes calls for a bonding agent or a specialized patching compound rather than either standard drywall product, since plaster and drywall don’t always bond the same way to standard joint compound. A painter or plasterer familiar with older plaster walls should evaluate that kind of repair before any material gets chosen. If the goal is matching texture rather than just filling and smoothing, the drywall repair service and the broader guide on how to paint a house interior in San Diego both cover how texture and prep fit into a full interior repaint.
When to call us
A wall with more than a few scattered holes, any cracked seam, or a repair on older plaster is worth having a professional evaluate before choosing a filler, since picking the wrong product for the job usually means redoing the patch. For a sense of what a larger repair typically involves, the drywall repair cost guide for San Diego and the guide to hiring drywall repair contractors in San Diego are good starting points. Call us at (858) 400-6422 and we’ll connect you with a licensed local painter.