Trim and baseboard painting cost in San Diego tracks linear footage, door and window count, and how much prep the existing trim needs. The price swings on condition: trim in good shape costs less to paint, while heavy sanding, caulking, and color changes push cost up. Trim is almost always part of a larger interior painting project, and bundling both in one visit is generally more efficient than booking them separately.
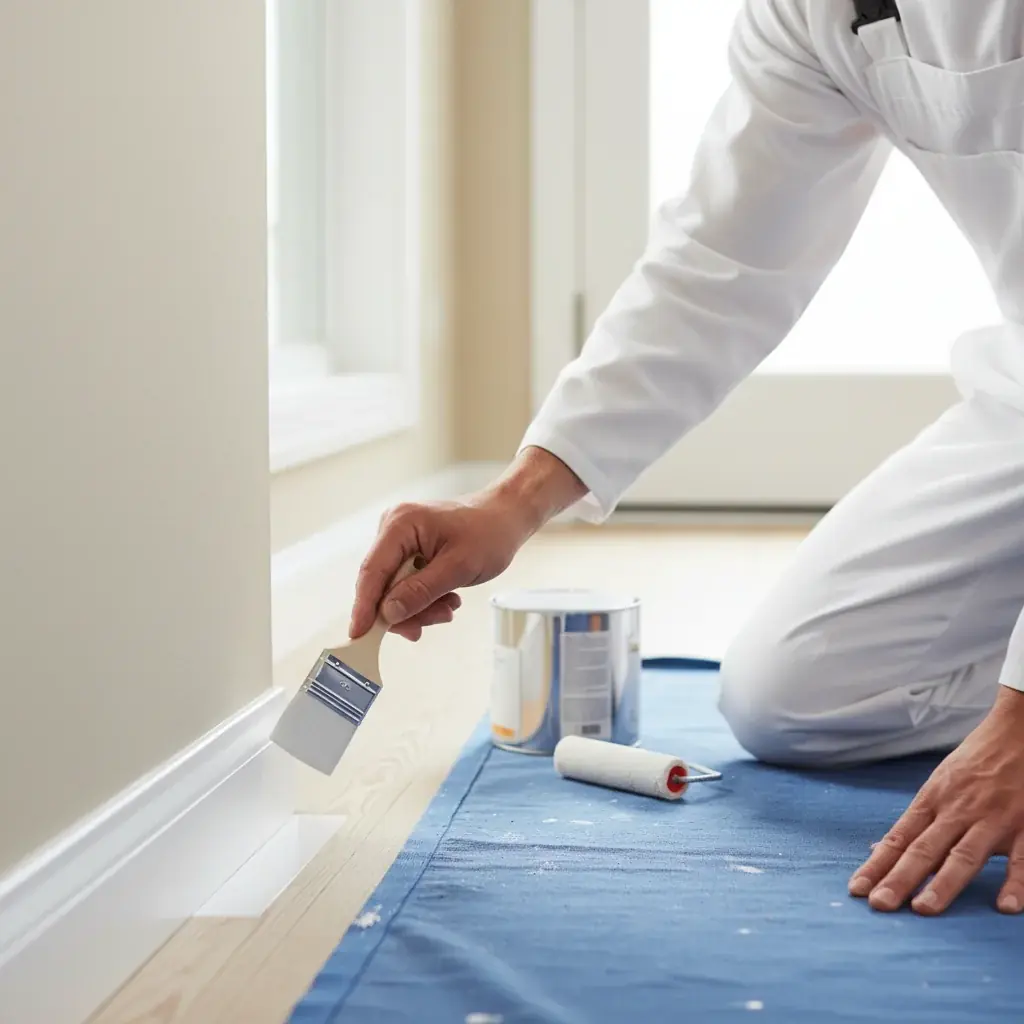
What trim painting actually includes
When painters talk about “trim,” it’s a catch-all term for the woodwork that finishes a room. A full trim, doors, and baseboards package typically covers several elements:
- Baseboards: The boards running along the bottom of the wall. They protect the wall from kicks, scuffs, and vacuum cleaners.
- Door Casings: The molding that frames your interior doors.
- Window Casings & Sills: The trim around your windows and the flat ledge at the bottom.
- Doors: Interior doors themselves, which often need painting to match the fresh casings.
- Crown Molding: The decorative trim that runs along the top of the wall, where it meets the ceiling. Not all San Diego homes have this, but it’s a common feature in styles from craftsman to colonial.
- Wainscoting or Chair Rail: Decorative paneling or molding part-way up the wall.
When you get a quote, it should specify exactly which of these elements are included. Painting baseboards alone is a different job than painting every door, casing, and window in a house. The more complex the woodwork, the more time and detail the job requires, and the more it costs.
What drives cost by linear foot and by room
Trim painting cost in San Diego depends on the scope of work, the condition of the existing trim, and the method used. Here’s what actually drives the number you’ll see on a quote.
What drives cost by linear foot and by door
- Baseboard Painting: Cost tracks linear footage first. The price lands on the lower end if the baseboards are in good shape and just need a refresh coat. It trends higher if they require extensive sanding, filling, and caulking, or if you’re making a dramatic color change (like from dark wood to white).
- Door Painting: Cost tracks whether hardware needs to be removed and reinstalled, whether the door comes off its hinges for spraying, and how many panels it has. French doors or doors with many detailed panels cost more than a flat slab door. This typically includes painting both the door and its casing.
What drives cost by the room
Most homeowners paint trim as part of a larger project. For a standard bedroom, cost scales with linear feet of baseboard, door count, and window count, plus how much prep each surface needs.
The total cost will scale with the number of doors, windows, and the amount of prep work needed. It’s often more cost-effective to paint the trim for several rooms or the entire house at once, since mobilization cost gets spread across more work. For a complete picture of room costs, see our guide on interior painting cost in San Diego.
Sheen choice: semi-gloss vs satin on trim
The paint finish you choose for your trim impacts both its look and durability. The two most popular choices are semi-gloss and satin.
Semi-gloss
This is the traditional, classic choice for trim. It has a noticeable shine that reflects light and makes the woodwork pop against the flatter wall color.
- Pros: Highly durable, moisture-resistant, and very easy to clean. Smudges and fingerprints wipe right off, making it ideal for high-traffic areas, kitchens, and bathrooms.
- Cons: The high reflectivity means it highlights every imperfection. Dings, dents, and uneven surfaces will be more obvious.
Satin
Satin (or “eggshell” in some brands) is a more modern option that offers a softer, lower-sheen look. It has a subtle luster that’s less reflective than semi-gloss.
- Pros: More forgiving of imperfections. Its lower shine helps hide minor flaws in the wood or wall texture. It offers a more contemporary, less “plastic” look.
- Cons: While still durable, it’s slightly less scrubbable than semi-gloss. It can be more prone to showing scuffs from a vacuum cleaner.
For both sheens, we recommend modern waterborne alkyd enamels like Sherwin-Williams ProClassic or Benjamin Moore Advance. These paints combine the durability and smooth, hard finish of old-school oil paints with the easy cleanup and low VOCs of water-based paints. They level out beautifully, minimizing brush strokes for a near-flawless finish.

Caulking, filling, sanding: prep that makes the difference
The secret to trim that looks sharp and lasts for years isn’t the final coat of paint. It’s the meticulous prep work that happens before a brush ever gets dipped. This is what separates a DIY job from professional results.
The process includes several critical steps:
- Cleaning: Trim, especially baseboards, collects dust, grime, and oils. We thoroughly clean all surfaces with a degreaser to ensure the new paint adheres properly.
- Sanding: We scuff sand all existing paint. This isn’t about removing the old paint, but about “de-glossing” the surface to create a microscopic texture for the new primer and paint to grip onto.
- Filling: All nail holes, dings, and dents are filled with wood putty and then sanded smooth so they become invisible under the new paint.
- Caulking: This is arguably the most important step. Caulking baseboards and casings involves applying a thin, flexible bead of sealant into the gap between the trim and the wall. This does two things: it creates a perfectly flawless, airtight transition, and it prevents the paint from cracking along that line as the house naturally settles. Without caulk, you’ll always have a dark, shadowy gap that collects dust.
For older homes in San Diego, particularly those built before 1978, there’s also the possibility of lead-based paint. Professional painters are certified in EPA Lead-Safe practices to handle this safely without creating hazardous dust.
Spraying vs brushing trim, when each wins
There are two primary methods for applying paint to trim: spraying and the traditional brush-and-roll technique. Neither is universally “better”, the right choice depends on the specific project.
Spraying
Using an airless or HVLP (High Volume, Low Pressure) sprayer atomizes the paint into a fine mist, creating a perfectly smooth, factory-like finish with no brush marks.
- When it wins: Spraying is ideal for vacant homes, new construction, or large-scale projects where all the trim is being painted. It’s also the best way to get a flawless finish on multi-paneled doors.
- The trade-off: Spraying requires extensive prep. Everything that isn’t being painted, floors, walls, furniture, windows, must be meticulously masked off with plastic and tape to protect from overspray. This can add significant time and labor to the job.
Brushing and rolling
The classic method uses high-quality brushes for cutting in and detail work, and small rollers for flat surfaces like doors.
- When it wins: Brushing is perfect for occupied homes, smaller jobs (like a single room), or when you’re only painting the trim and not the walls. The prep is much faster since there’s no risk of overspray.
- The trade-off: A perfect brushed finish requires a skilled hand and high-quality paint. Using a self-leveling enamel like Benjamin Moore Advance helps, but technique is key to minimizing brush strokes.
For most occupied home repaints in San Diego County, a combination of brushing and rolling is the most practical and efficient method for trim.
What determines how long a typical trim job takes
Painting trim is a detail-oriented process, and the timeline reflects the importance of prep work.
- A single room (e.g., bedroom or office): Most of the time here goes to prep: cleaning, sanding, filling, and caulking. The actual painting goes relatively quickly once the surfaces are ready.
- A typical San Diego home: To paint all baseboards, doors, and casings, the timeline scales with linear footage, door count, and the complexity of the trim.
- Factors that add time: If you’re changing from a dark wood stain to white paint, it will require extra priming steps. Extensive damage from pets or moisture will also add to the prep time.
A professional crew works efficiently, but quality prep cannot be rushed. Rushing steps like caulking or sanding will show in the final product and compromise its durability.
Frequently asked questions
What drives trim painting cost per linear foot in San Diego?
Baseboard painting cost tracks linear footage and condition first. Standard-height baseboards in good condition cost less to paint. Add-ons like heavy sanding, wood filling, caulking, or a dramatic color change push the price up. Interior doors add cost per door, per side, depending on panel count and hardware removal.
Is it worth it to hire a pro to paint trim instead of doing it myself?
For most homeowners, yes. Sharp, durable trim lines require clean caulk seams, proper sanding, and a self-leveling enamel applied with a skilled hand. DIY attempts often show lap marks, cracked caulk, and paint that peels at the wall junction well before it should. The labor savings rarely outweigh the quality difference on trim specifically.
How long does it take to paint trim in a San Diego home?
Timeline scales with room count, door count, and how much prep the trim needs. A single room moves quickly. A whole-home job covering all baseboards, doors, and casings takes longer, and most of that time is prep: cleaning, sanding, filling, and caulking. The painting itself goes quickly once surfaces are ready.
Do I need to caulk baseboards before painting?
Yes. Caulking the gap between the baseboard and wall creates a clean, flawless line and prevents the paint from cracking as the house settles. Without it, a dark gap collects dust and the paint at the joint cracks sooner than it should. It’s one of the most important steps pros do that most DIYers skip. See our full breakdown in why you should caulk baseboards before painting.
What sheen should I use on trim in San Diego?
Semi-gloss is the most common choice: durable, moisture-resistant, and easy to clean. Satin is a softer, more modern look that hides imperfections better but is slightly less scrubbable. Both work well with waterborne alkyd enamels like Sherwin-Williams ProClassic or Benjamin Moore Advance, which dry to a hard, level finish with minimal brush marks.
How often does trim need to be repainted?
Well-prepped trim with a quality enamel holds up well before it needs a full repaint. High-traffic areas, kitchens, and homes with pets or young kids may need touch-ups sooner. Cracking caulk lines and yellowing are the most common signs it’s time.
When to call us
While painting trim might seem like a straightforward DIY project, achieving those laser-sharp lines and a durable, glass-smooth finish requires patience, skill, and the right tools. If your trim is chipped, your caulk lines are cracked, or you simply want a flawless result without the hassle, it’s time to call a professional.
The painters we match handle every step, from meticulous prep to the final coat. Always verify the contractor’s license classification on the CSLB website. Paint Pros is a referral service and does not hold a trade license.
Call (858) 400-6422 and we’ll connect you with a vetted local painter.