You’re pricing out a garage floor coating and the quotes you’ve gotten are all over the map. Both contractors claim they do the same job. They don’t. Understanding what separates a floor that fails early from one that holds up for years comes down to a few specific decisions, and price is only a symptom of them.
What drives epoxy cost per square foot
A standard two-car garage in San Diego runs about 400–480 square feet. Here’s what drives the price of a professionally installed system:
Solid color epoxy (base + topcoat): the entry-level option. Fine for a workshop or storage garage. Less forgiving on concrete imperfections.
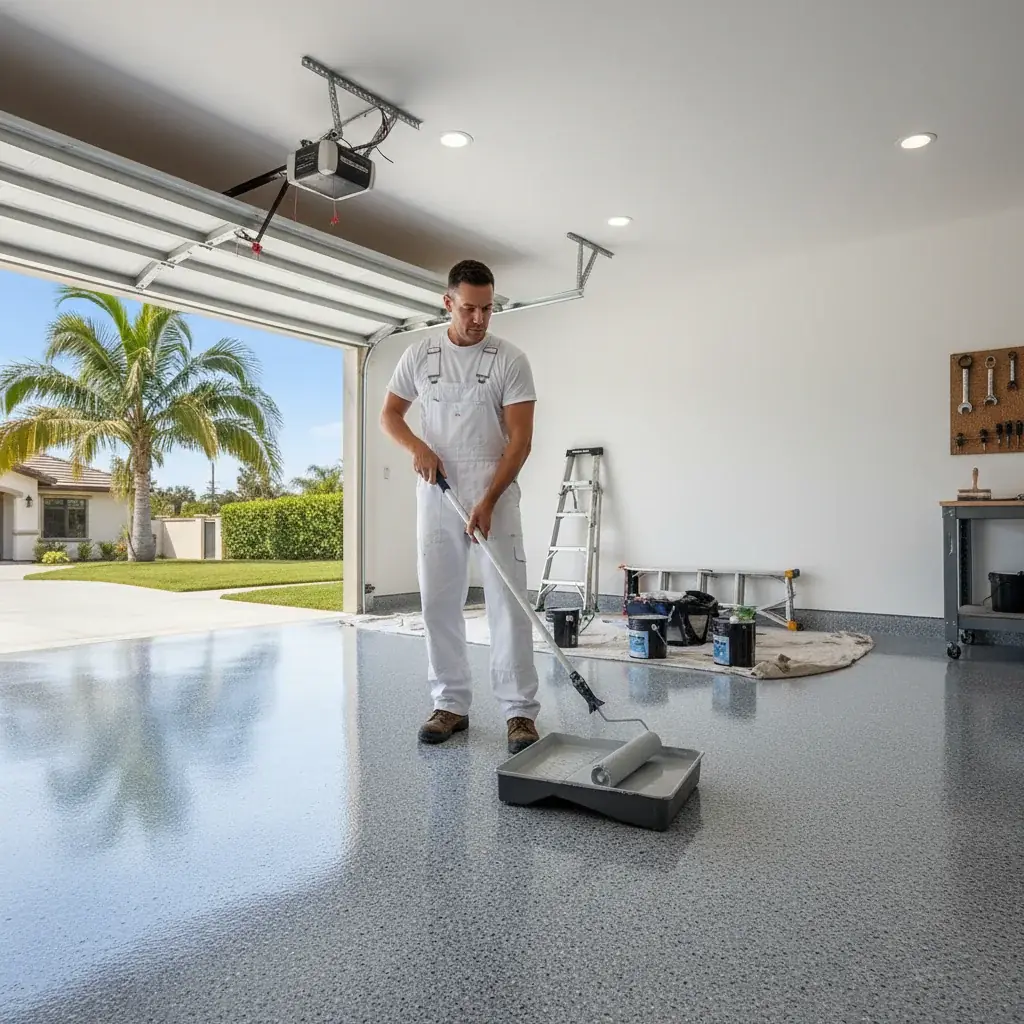
Broadcast flake system: the most popular choice. Full-broadcast flake hides surface irregularities, adds slip resistance, and holds up to daily driving. The price spread reflects chip size, coverage density, and whether the installer uses a commercial-grade topcoat (they should).
Metallic epoxy: custom swirl patterns, high-gloss finish. Looks impressive. Requires a skilled applicator, bad metallic work is very obvious.
Polyaspartic systems: the highest-priced tier. More on why these cost more in the last section.
What inflates a lowball quote? Acid etching instead of diamond grinding. Single-coat applications. No moisture testing. Discount topcoats that yellow in UV. A cut-rate floor often means paying for a second floor well ahead of schedule.
Budget for a quality flake system installed by a licensed contractor, and always verify your contractor holds a valid California C-33 license through the CSLB license lookup before signing anything.
Solid color vs flake vs metallic: picking a finish
The finish you choose affects more than aesthetics. It affects how easy the floor is to maintain, how visible tire marks and dust are, and how much prep the installer needs to do.
Solid color is clean and minimal. It shows every scratch and dust bunny. If your garage is a proper workshop with heavy tool traffic, it’s a practical choice, touch-ups are easier to blend. For a finished showroom-style garage, it tends to look flat over time.
Full-broadcast flake is the workhorse. The vinyl chips scatter across the wet epoxy and get locked under a polyurethane or polyaspartic topcoat. The texture breaks up tire marks and light stains. Grays, tans, and blues are the top sellers in San Diego right now, they read clean without showing every speck of dirt. This is what installers put down on most residential garages.
Metallic is a legitimate option if you’re doing a garage conversion, a home gym, or a showroom. The pigment creates depth and movement. The trade-off: repairs are nearly impossible to blend invisibly, and the finish is more susceptible to scratching under heavy equipment.
One thing worth knowing: California’s air-quality rules under CARB’s architectural coatings program limit VOC content in floor coatings. Professional-grade products are formulated to comply. The cheap big-box kits often aren’t, which matters if you’re in a SCAQMD-regulated county, San Diego is not SCAQMD territory, but the state minimums still apply.
Why concrete prep determines how long the floor lasts
This is the section most homeowners skip when comparing quotes. It’s the most important one.
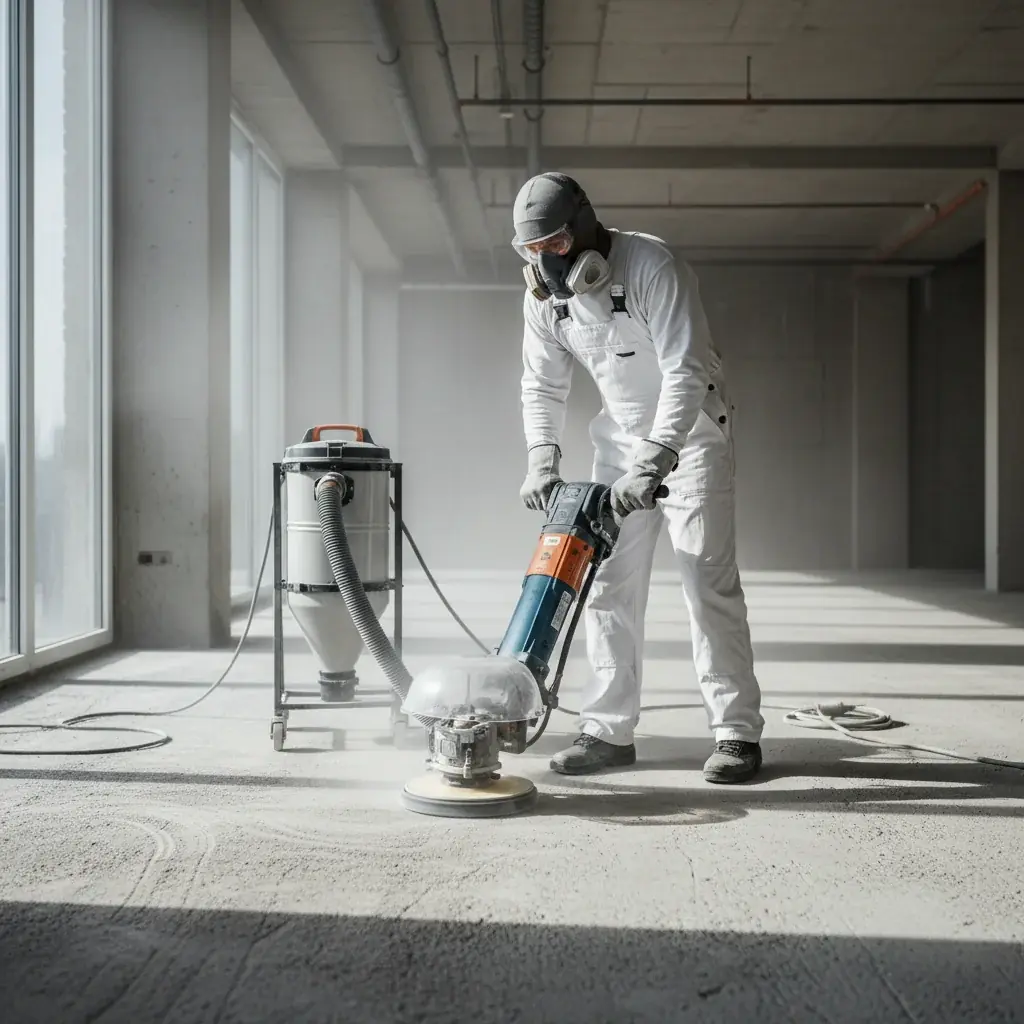
Epoxy bonds mechanically to concrete. That means the surface needs a profile, tiny peaks and valleys the coating can grip. Diamond grinding is the only reliable way to create that profile consistently across an entire floor.
Acid etching is cheaper and faster. It’s also inconsistent. It reacts differently depending on the concrete mix, age, and any previous sealers. In San Diego’s coastal garages, especially anything within five miles of the coast, existing moisture in the slab makes acid etching even less predictable.
Moisture testing: the step coastal contractors skip
Concrete slabs in San Diego’s beach communities absorb moisture from below, especially in homes built on grade. Moisture vapor drives up through the slab and, if it’s trapped under an epoxy coating, causes delamination within months. You’ve seen this, bubbled, peeling floors that look like they were done last year.
A proper moisture test (ASTM F2170 or a calcium chloride test) takes some time before coating. It adds a small amount to the project timeline, and your installer will confirm the schedule for your slab. It tells you whether you need a moisture-tolerant primer before the epoxy layers go down. Any contractor skipping this step on a coastal San Diego garage is cutting corners you’ll pay for later.
Crack repair and spall patching happen at this stage too. You can’t skim over a crack with epoxy and expect it to stay hidden. Polyurea crack filler, properly tooled and feathered, is the right move before grinding begins.
The epoxy installers we match handle diamond grinding, moisture testing, and full crack prep on every job. When you’re ready for quotes, here’s how to hire an epoxy garage floor installer in San Diego. If you’re weighing materials, our guide on polyaspartic vs epoxy garage floors walks through the tradeoffs. Proper prep isn’t optional. It’s how the floor lasts.
Hot tire pickup and how to avoid it
Hot tire pickup is exactly what it sounds like. You pull into the garage after a long drive, park on the coated floor, come back an hour later, and strips of your floor coating peel up with the tires.
This is almost exclusively a DIY kit problem, not a professional epoxy problem. Here’s why.
The big-box garage floor kits, the ones that come in a bucket and promise a weekend project, are typically one-part water-based epoxy. They’re not true two-part epoxy systems. The crosslink density is low, meaning the film is soft and thermoplastic at elevated temperatures. A hot tire sitting at 150°F+ creates enough bond strength between the rubber and the coating to pull the film off the concrete.
Professional two-part epoxy systems, especially those with a polyurethane or polyaspartic topcoat, have a much higher glass transition temperature. They don’t get soft under tire heat. The topcoat is what carries the load here, it’s the final layer tires actually contact.
If you’ve had a DIY floor fail this way, the fix isn’t another DIY kit. The old coating needs to come off completely (back to the diamond grinder) before a proper system goes down. Coating over a failed coating is one of the most common, and most preventable, mistakes on these jobs.
Timeline: from grind to walk-on to drive-on
Homeowners always ask how long they’ll be out of the garage. The process moves through prep, base coat, then flake broadcast and topcoat, each stage curing before the next begins. Your installer schedules the exact timeline around your product and San Diego’s weather that week.
Prep: Diamond grinding, crack repair, moisture barrier primer if needed. This is the loud, dusty day. Dust extraction equipment keeps it manageable, but plan to move everything out ahead of time.
Epoxy base coat: The base coat goes down after the primer cures. Color is established at this stage.
Flake broadcast and topcoat: Chips get scattered into the wet base, excess gets scraped and vacuumed, then the polyurethane or polyaspartic topcoat seals everything.
Walk-on cure: The topcoat needs to set enough to bear foot traffic; timing depends on temperature and humidity.
Drive-on cure: Light vehicles wait longer than foot traffic does, and full cure for heavy equipment or a full load takes longer still. Your installer confirms the exact windows before you park anything on it.
San Diego’s mild climate, low humidity, stable temperatures, actually speeds cure times compared to coastal markets with more moisture. Garages in Chula Vista or National City, further from the coast, tend to cure faster than those in La Jolla or Ocean Beach.
When polyaspartic beats epoxy
Polyaspartic coatings are technically in the same family as epoxy, they’re a subset of polyurea chemistry, but they behave differently in ways that matter for certain projects.
Why polyaspartic costs more: Higher-grade resin, faster cure, built-in UV stability. You’re not paying for marketing. You’re paying for chemistry.
Where polyaspartic wins:
-
UV exposure. Standard epoxy yellows in direct sunlight. Garages with large windows or doors that stay open, common in San Diego, can show yellowing quickly. Polyaspartic doesn’t yellow. For a garage that doubles as a living space, it’s worth the premium.
-
Cold or damp application days. Epoxy has a minimum application temperature. Polyaspartic can be applied at much lower temps and cures faster. For winter projects or morning applications in cooler inland garages (think Santee or El Cajon in January), this matters.
-
Fast installs. Polyaspartic systems can be applied and walked on far sooner than standard epoxy. For commercial properties or garages you can’t keep offline for long, this is significant. Commercial painting projects with floor components often move to polyaspartic for this reason alone.
-
Long-term hardness. Polyaspartic topcoats are harder than polyurethane. They scratch less easily under daily use.
The downside: polyaspartic is less forgiving to apply. It cures fast, sometimes too fast in summer heat. An inexperienced installer can end up with lap lines and uneven finish. Skill matters more, not less, at this price point.
If you’re coating a standard residential garage and budget is a priority, a quality two-part epoxy with a polyurethane topcoat is an excellent choice. If you have UV exposure, you want a one-day install, or the garage does double duty as a gym or workspace, go polyaspartic.
Frequently asked questions
How much does garage epoxy floor coating cost in San Diego?
Professionally installed garage epoxy pricing depends on the system: solid color is the entry-level tier, broadcast flake is the most popular mid-range choice, metallic and polyaspartic cost more for the added chemistry and finish work. Your installer prices per square foot once they see the concrete’s condition.
How much does epoxy floor coating cost per square foot?
Solid color epoxy is the lowest-cost tier. Broadcast flake systems cost more and are the most common choice for residential garages. Metallic epoxy costs more still, and polyaspartic systems sit at the top of the range because of the added resin chemistry and faster cure.
Is it worth hiring a pro for garage epoxy, or can I DIY it?
For most San Diego garages, hire a pro. DIY kits use one-part water-based epoxy that fails under hot tire heat and has low crosslink density. A professional two-part system with proper diamond grinding, moisture testing, and a polyaspartic or polyurethane topcoat holds up far longer. A failed DIY floor has to come off completely before anything else goes down, which costs more than doing it right the first time.
How long does garage epoxy floor coating last?
A properly installed professional epoxy system holds up for years in a San Diego garage. The main factors are prep quality (diamond grinding vs. acid etching), moisture testing, and whether a durable topcoat was applied. Cheap DIY or acid-etched installations fail early, especially in coastal garages within a few miles of the water.
What is the difference between epoxy and polyaspartic garage floor coating?
Epoxy is the standard two-part floor system and a solid choice for budget-conscious residential garages. Polyaspartic is a polyurea-chemistry coating that doesn’t yellow in UV light, cures in one day, and produces a harder final surface. In San Diego garages with large windows or doors that stay open, polyaspartic is worth the higher cost. See the full comparison in our polyaspartic vs epoxy garage floors guide.
When to call us
If your concrete needs grinding, has visible moisture issues, or you’re within a few miles of the San Diego coast, this isn’t a DIY project. The prep alone requires equipment most homeowners don’t own, and a failed floor means starting over from scratch, which costs more than doing it right the first time. Call us at (858) 400-6422 and we’ll connect you with a vetted local painter.